Showing posts with label Delightful Daisy. Show all posts

Monday, April 9, 2018

Dragonfly Dreams - Fancy Closure Card

This is the other card we made at Sue's workshop on Saturday.  For those who attended, you might notice a difference in the Designer Series Paper because I wanted to make this from scratch with detailed instructions.  Plus, I like the bright yellow daisies! 

The card was fun to make and will be even more fun watching your recipient open it for the first time!  Let's start with the basic recipe and measurements.


Recipe:
Whisper White Card Stock - 8 1/2" x 5 1/2", scored and folded at 4 1/4"
Delightful Daisy Designer Series Paper 5 1/4" x 4 (inside) 4" x 2" (outside)
Basic Black - scrap for Detailed Dragonfly
Vellum - scrap for Outline Dragonfly

Stamps:  Dragonfly Dreams
Ink:  Garden Green

As you open the card, the dragonfly wings fold up and are pulled through the punched area.


Once completely open, the dragonfly is now inside.  I bet you're thinking... where am I supposed to sign my card or write something to the recipient.  Well, look at the top, there's all the open space you usually see on the bottom of the card.  How cute is that, nice and unique!


To close, gently pull the wings together and put them through the punched area and you're ready to enjoy opening it again.


Once you have the wings on the outside again, gently fold them up to put a little crease in them at the body.


At our workshop we actually did this differently but we found that the wings were over a bit too far off the edge of the card, so today I decided to try this another way.  The original instructions come from Rachel Tessman, thank you Rachel! 

Here's how I re-did the punching and the wings worked great this time.

Before you do any punching, be sure to adhere the 5 1/4" x 4" piece of Designer Series Paper (DSP) to the bottom of the card - the area where you would usually write.

Begin by placing the Classic Label punch all the way in to the edge of the card about 1/2" down from the top and then punch.  Move the punch down about another 1/2" and punch again, being sure to keep the punch straight so it lines up with the first one.


On the front of the card, place your 2" x 4" piece of paper centered over the punched area.  The left edge should be about 5/8" of an inch in from the edge of the card.  


Flip the card open and slide the punch in all the way (if you did it right on the outside, it should work the same inside.).  Gently make the two punches again and you're all set.  This also make punching two separate times easier than punching through the cardstock and the DSP at the same time.


Using our mini glue dots, place three on the back of the dragonfly as shown.  A little tip we learned at the workshop was this - when you put the head of the dragonfly onto the glue dot - press gently and twist it back and forth a bit.  We found that if you pull up the basic black without doing that, sometimes the cardstock would tear and leave a layer of paper behind on the roll of dots.


Line up the vellum outline of the dragonfly with the detailed dragonfly and then press it onto the glue dots.

Add three more glue dots to the vellum and then...


... place the dragonfly onto the card through the punched area.  Make sure you've punched a long enough area for its tail.


Ta Da!  Isn't that easy?  Admit it, you thought it would be hard, but it was very easy!

Thank you for looking in today.  Happy Monday!

~ Donna

Product List

Thursday, August 3, 2017

Daisy Notes

On Wednesday, I took the day off from my day job to go out to lunch with some friends and former co-workers to celebrate a birthday.  Knowing Jean (the birthday girl) I knew she would like some of my note cards, so I whipped them up in the morning and I thought I'd share them with you today.

I made six cards.  Three of this design and three of the design below.  Being notecard size, they are easy to whip up for a quick gift.


Here's a close up:  I moved the daisy around a bit and the "hello" stamp, but basically all the same.

Recipe:
Whisper White Note Cards
Delightful Daisy Designer Series Paper - 3 1/2" x 2"
Ink - Night of Navy, Daffodil Delight
Stamps - Delightful Daisy and Jar of Love (for sentiments)


Recipe:
Whisper White Note Cards
Night of Navy - 3 1/2" x 2 1/4"
Delightful Daisy Designer Series Paper - 3 1/2" x 2"
Ink - Night of Navy, Daffodil Delight
Stamps - Delightful Daisy and Jar of Love (for sentiments)


I tied them all together with 1/4" Double-Stitched Ribbon and then slid them inside one of our standard envelopes.  They fit perfectly!


Thank you for looking in.  I'd love to hear from you, would you take a moment to comment?

~ Donna


Product List

Saturday, July 1, 2017

Use Those Scraps

I sure hope this works, for some reason my computer is being very slow at the moment.

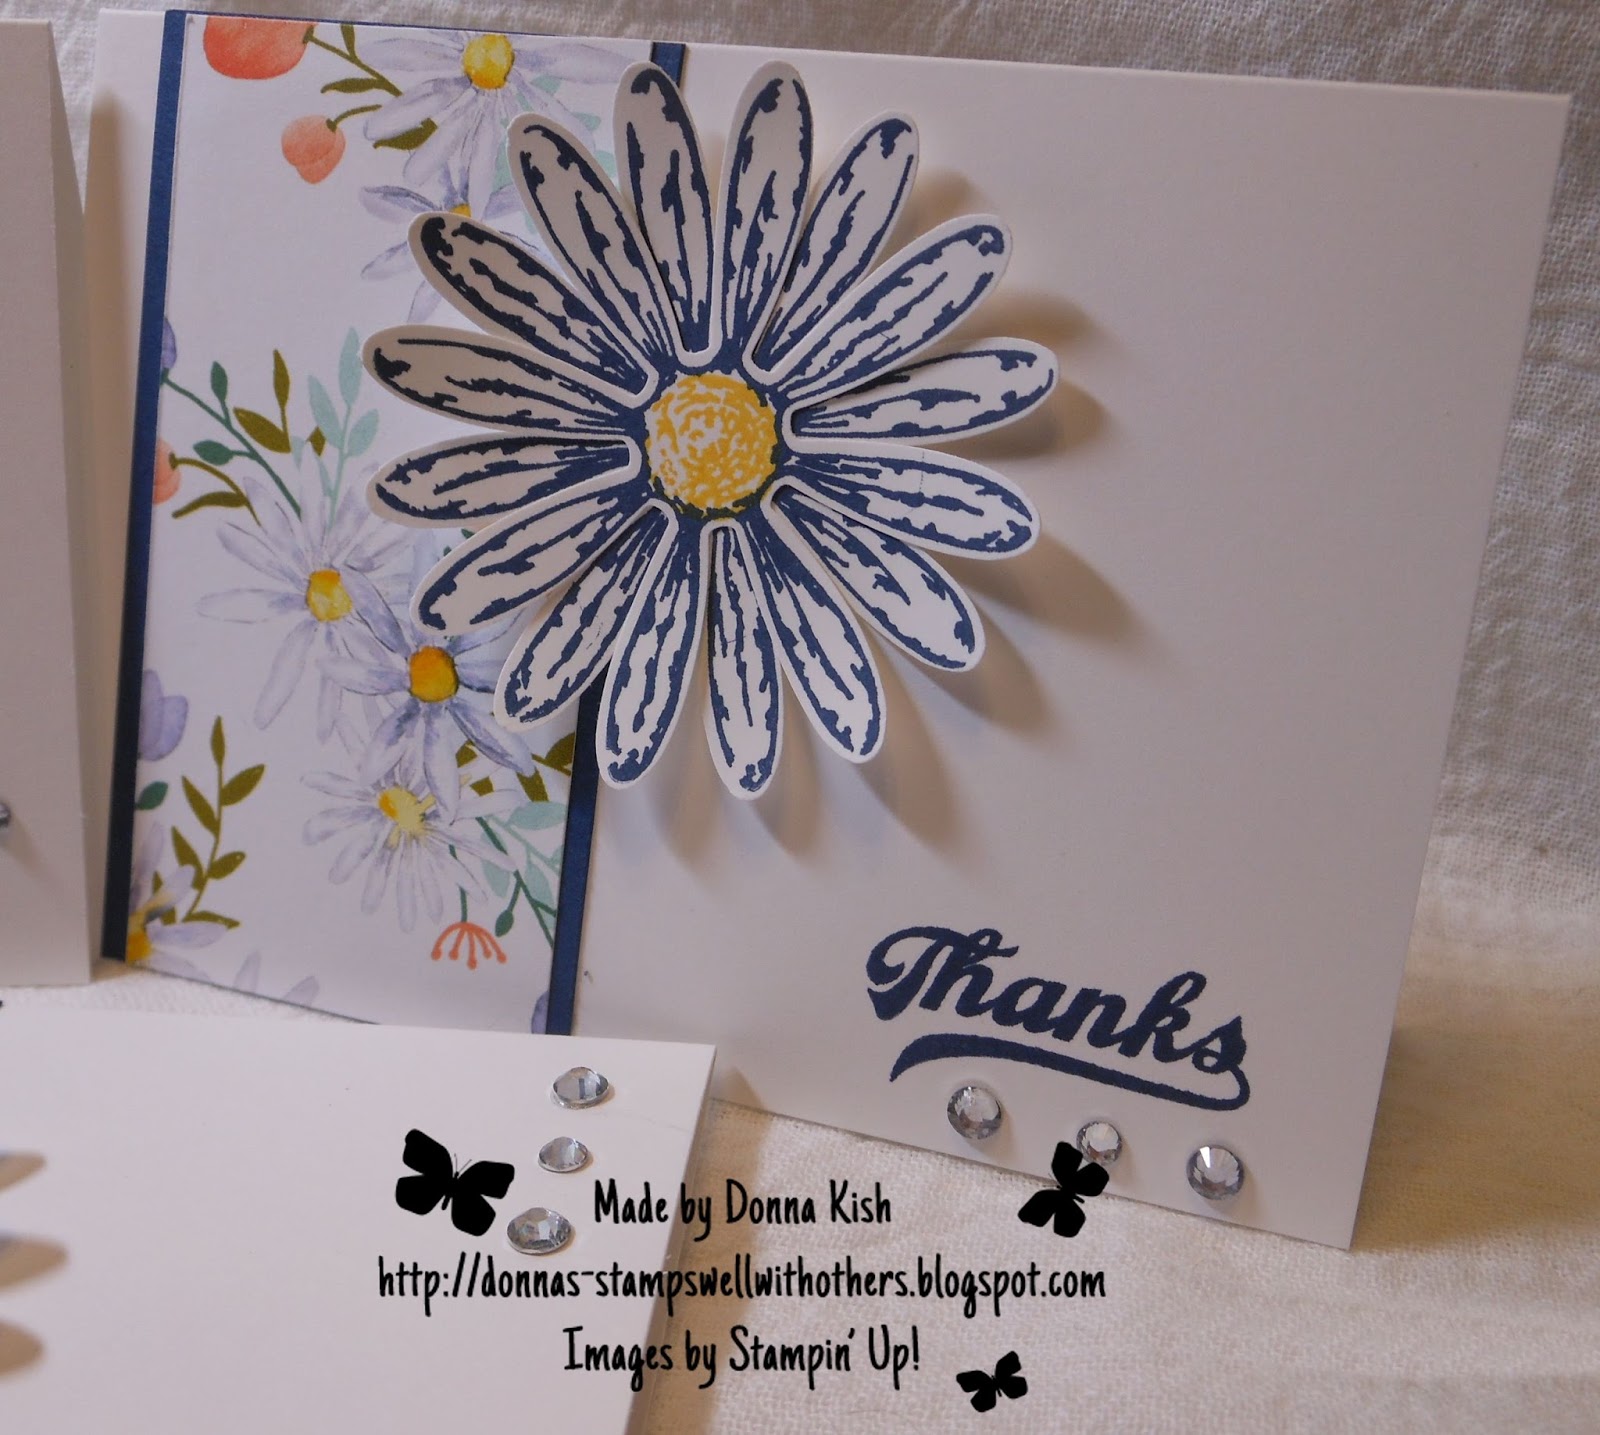
This great daisy paper with the blue background is one of my favorites so far this year and I just couldn't let these little strips get away.  So next best thing, put them on a card as broken background.


This was so fast and easy and yet beautiful and versatile.  Simply put them together and add the appropriate sentiment as needed.

Recipe: 
Daffodil Delight - 8 1/2" x 5 1/2", scored and folded at 4 1/4"
Whisper White - 5 1/4" x 4" (inside panel)
Whisper White scraps for punching FOUR Daisies.
Daffodil Delight scraps for punching 3/4" circles for the middle


Now... if you have a weak stomach when it comes to altering your stamps, don't go any further.  This may be more than you can handle!  When I discovered that Thank You from the Daisy Delight Stamps, I decided to cut it in half and trimmed up the edges a bit and it worked perfectly.  I left the edge where I cut between the words in precise order so I can easily line them back up to look good as new for stamping.


Use your bone folder to roll the petals up a bit and attach the flowers to the front of the card with Stampin' Dimensionals.


Thank you for looking in today.  It's a LONG weekend for me as I took Monday off and Tuesday is the 4th of July holiday.  So I'm ready to enjoy some crafty time this weekend!  What are your plans?

Happy Saturday!!

~ Donna

Thursday, June 29, 2017

USA Daisies

Have you ever noticed that inspiration can hit at any time and any location?  The other night I was dropping off an order to a customer.  Her front porch and driveway are always decorated to the hilt with the upcoming holiday or season.  At this time of year it was patriotic with the 4th of July Holiday coming up early next week.

One of the things that jumped out at me was a great patriotic tin daisy that was in the flowerbed.  I thought... HEY, I can use our new Daisy Punch with our Real Red, Night of Navy and Whisper White.  


So, here is my card. 

Recipe:  
Night of Navy - 11" x 4 1/4", scored and folded at 5 1/2"
Real Red - 5 1/4" x 4"
Whisper White - 5" x 3 3/4"
Stamps:  Happy Birthday Gorgeous

Now, before you go searching, there is no "USA" in the stamp set, but there is a "U", and "S", and an "A" mixed it the sentiments in the stamps.  

So using my retired Washi Tape, I covered the letters I didn't want using the "U" from "It's Your Day", inking it up, removing the washi tape and stamping it on the card.  Then I did the same with the "S" from "Make a Wish" and the "A" in the same stamp.


See those little rhinestones... they are perfect for covering up little smudges.  (You should see my fingers, oh what a mess!)


Thank you for looking in today again.  It's so nice to have you here!  

Please keep everyone affected by the summer fires burning across the southwest.  There is one in particular near several small towns in Arizona.  Several communities have been evacuated, some with very little time to gather things together.  This photo is from the Goodwin Fire.

Officials on June 27, 2017, ordered more mandatory evacuations for several areas near the Goodwin Fire, burning 14 miles south of Prescott and south of the community of Mayer.(Photo: Arizona Department of Transportation)


Contributors