Check out these beautiful Detailed Floral Votive (battery operated) Holders. Don't panic, these are easier than you think to make! I saw this on Gosia MacKinnon's blog where she had a video. I made my tutorial here step by step. Thank you Gosia for a great project!
Begin with a piece of cardstock - 8 1/8" x 4"
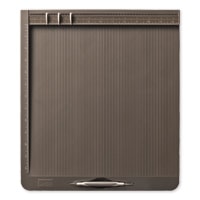
Score along the long side at 2", 4", 6", and 8"
On the short side, score at 2"
Take your bone folder and make all the creases nice and crisp, including the little 1/8"
One side of your paper will be bigger than the other. THAT is the side you want to use. I missed and used the short side, but it worked out. I'll explain later.
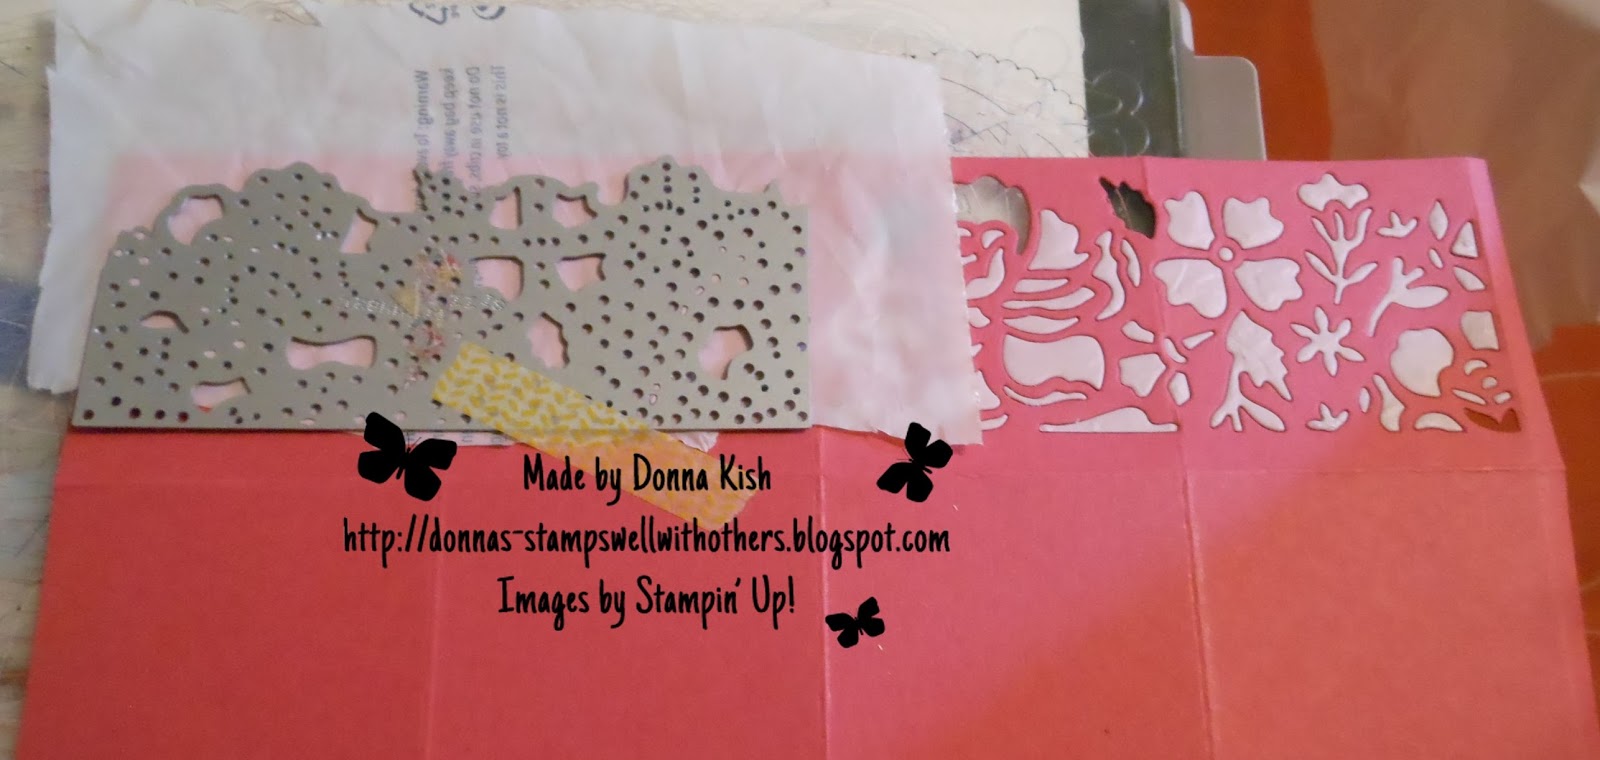
Place the small die from Detailed Floral Thinlits between the two score lines and about 1/8" of an inch from the top of the highest part of the die.
Gently place a piece of Washi Tape to hold the die in place.
Next, this is a trick I learned from someone who I believe was from Sizzix, who suggests instead of using waxed paper or a dryer sheet to have the die stick less to the paper, to use a piece of a grocery bag. Our Stampin' Up! bags that your hostess or Demonstrator usually delivers your goodies in is perfect!
Gently slide a piece of cut plastic bag under the die. This is why you have the Washi Tape, so your die doesn't move.
Run your die through, lift off the die and ta-da! Beautiful clean cut and hardly any paper, if any at all sticks to the die.
Cut another piece of plastic bag for the 2nd cut, slide your paper over and repeat.
Now all you have to do is pop out the little pieces. These will fall out easily and if need be just push them out with a paper piercer or the rolling die brush works great as well.
Fold your creases again so they are nice and clean then cut with your paper snips the three lines JUST up to the fold. On the little 1/8" strip, cut off the bottom piece as shown below:
Use a bit of Tombo Multipurpose Glue on the small 1/8" strip along the top.
Fold the cardstock in half and tucking in that little strip, adhere it to the other side:
Now... here is where I discovered I had die cut the wrong side of the 2" vs. the 2 1/4". When I went to fold in my flaps to make the bottom, they were too big! Argh!!! Thankfully I noticed it before I added the glue. So, I simply cut off a little from each of the flaps and it was perfect.
Fold in the first flap, no glue, then glue or your adhesive of choice on the other three flaps and fold them in one at a time.
So, the one on the left (as you look at it) is the height of the box that I was CASEing, the short box is my accidental version!
Thank you for looking in today. I hope you'll have fun making some of these. Think how great they will look in Christmas colors or on a wedding table using the wedding colors! The possibilities are endless!
~ Donna
Product List