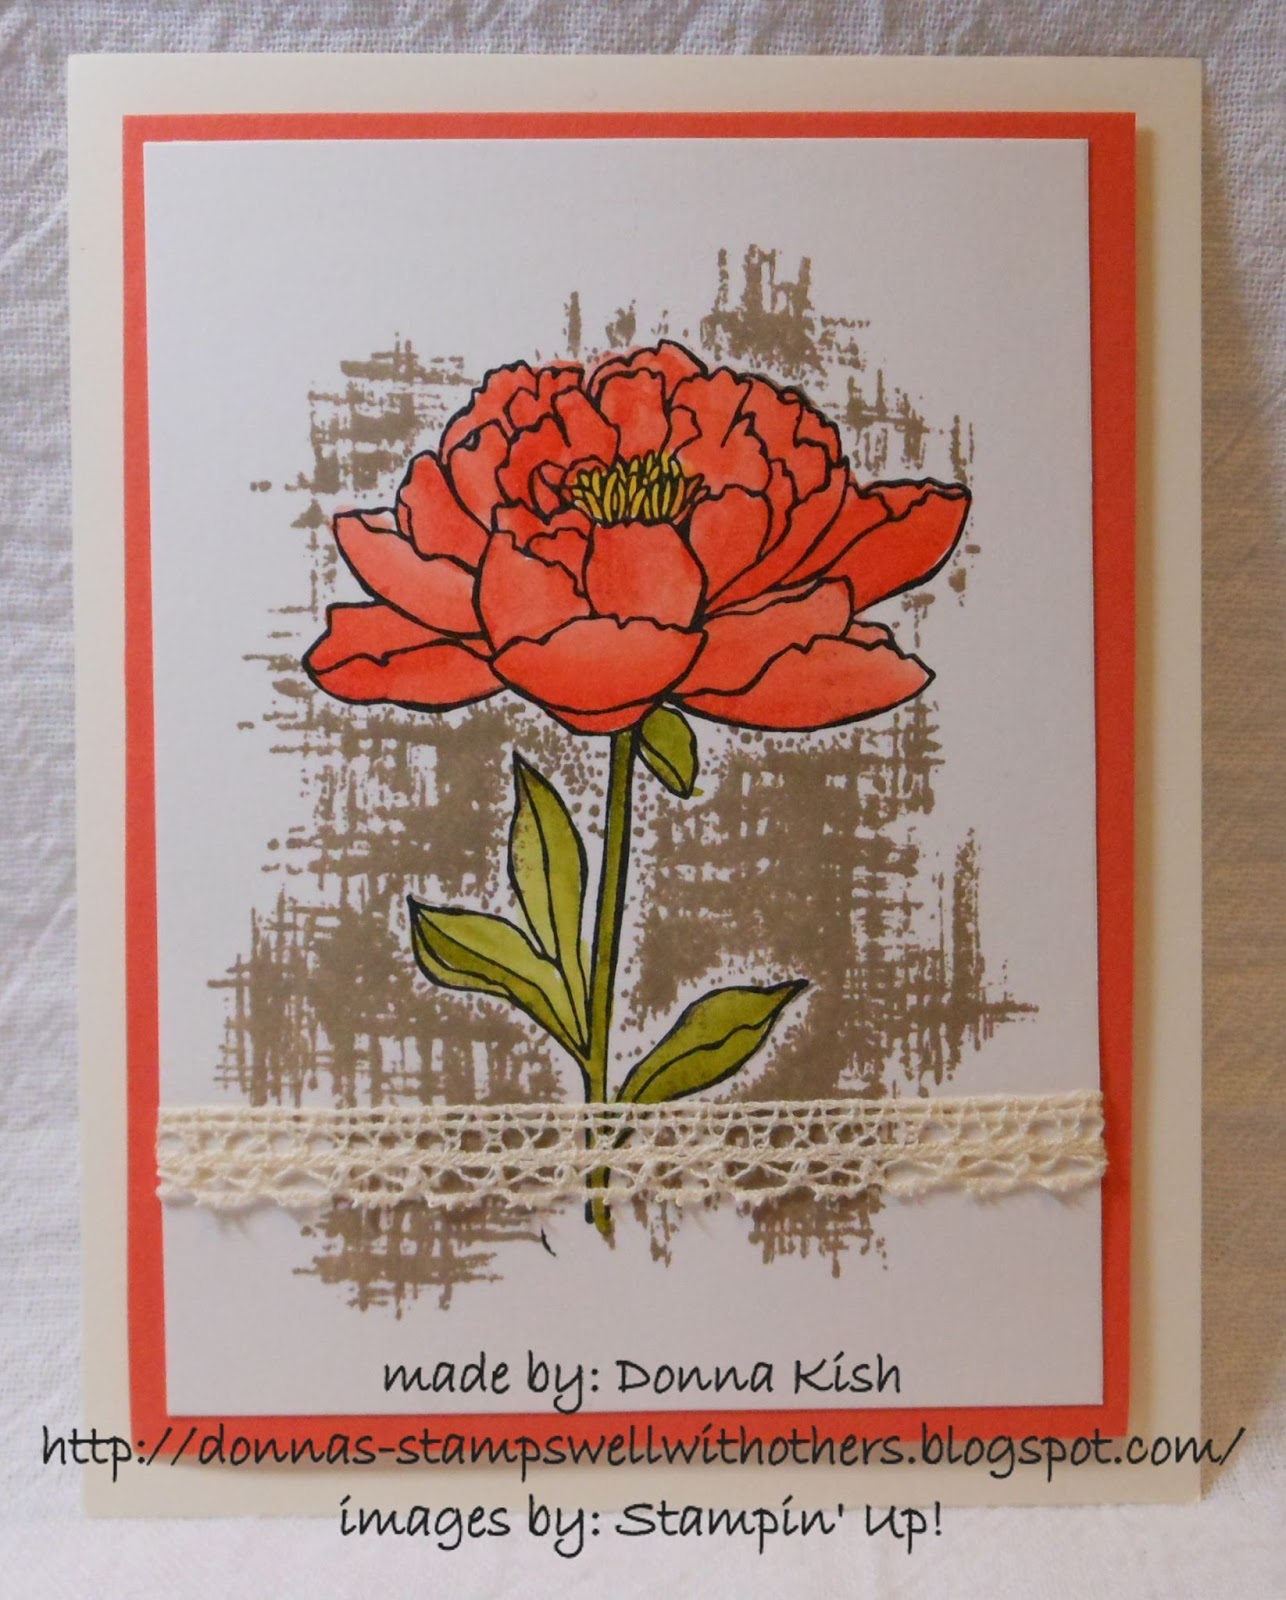
You've Got This... but if you don't you better get it soon, because this is one of the retiring stamps this year and it will only be around for a little while longer.
I'm going to miss these big flowers. Sometimes it is nice to use a stamp that takes up a lot of space and looks good doing it!
This card idea is from Brenda Quintana. Her colors were different and her ribbon was as well.
Rose Red (retiring) - 8 1/2" x 5 1/2", scored and folded at 4 1/4"
Sahara Sand - 4 5/8" x 3 5/8"
Whisper White - 4 1/2" x 3 1/2"
Sahara Sand Banner - 3 3/4" x 7/8" and the other is 3 1/8" x 7/8"
Stamps: You've Got This (retiring)
Ink Rose Red (retiring)
Thank you for looking in today!
~ Donna
Today was a fun day of stamping with the weSTAMP Team. I always love making the projects Lorri comes up with. They are always great fun and very creative!
Here is one of the cards that we made today.
So simple.
Card base - 8 1/2" x 5 1/2", scored at 4 1/4"
Top card stock - 5" x 3 3/4"
Sponge the edges of both. Stamp the large background stamp from You've Got This
Cut a piece of DSP 1 1/2" x 4" and punch both ends with the Banner Triple Punch
Stamp the butterfly from Butterfly Basics and cut out with the Butterflies Thinlits.
Wrap with Linen Thread and make a simple bow.
Stamp Hello from Crazy About You and punch with the Window Punch.
Thank you for looking in today. I'm heading to bed to hopefully listen to the thunder and maybe some rain.
Happy Sunday!
~ Donna
Do you love to color? I have loved to color ever since I was a little girl - that hasn't changed, except now I stay inside the lines. Most of the time!
If you haven't tried this yet, you need to give it a try, as soon as possible! I know I waited and now that I've given it a try, I'm hooked!
Begin with our Shimmery White Cardstock (page 149 - 101910) and stamp your favorite open image using Memento Ink. Here I used the large flower from You've Got This. Then using my ink pads and Aqua Painters I began to color them in. If you've ever tried doing this on our regular Whisper White cardstock, you'll know it just doesn't work well with all that moisture. The Shimmery White is perfect and in my opinion, looks so much better than even the Watercolor paper.
To get the ink where you can use your Aqua Painter, simply squeeze the closed ink pad so that the pad touches the inside cover. When you open your pad, you'll have fresh ink to dip your brush into. You can also add ink from your re-inker into the lid, but you really don't want that much ink to deal with.
The Shimmer comes through beautifully and you can easily get the beautiful look we had with our Blendabilities, but with just one color. Simply color in one petal at a time and then go back and add a bit more where you want it to be a bit darker.
The flower is colored with Calypso Coral and the stem and leaves are with Old Olive. You may think I used other greens as well, but this is all done with just the Old Olive.
To stamp the background "behind" the flower, make a mask by stamping the flower onto notebook paper or copy paper. Nothing thick or you won't get a good stamped image. Cut the flower out and place it carefully over the original flower.
Ink up the background stamp that comes with this stamp set and gently lay it over the mask. Lift straight up and peel the mask off of your stamp.
Hopefully you can see the beautiful shimmer on these two pictures. You should be able to open the pictures in another window by clicking on them, which should also make them bigger and easier to see.
So, grab some of our Shimmery White cardstock and give it a try. I promise you will love it!
To shop my store, click any of the pictures below. If you don't see the pictures (because you may be reading this in an email), then click the link to my blog below to see them and go shopping. If you shop between now and July 31st - please use Hostess Code: MBENMSQV
Since this month has been dedicated to getting ready for MY VERY FIRST CONVENTION - I'm not having any in home workshops, so, anyone that purchases the All-Inclusive Watercolor Wishes Card Kit, will receive a special surprise from me after I return from Convention. Be sure you don't choose "no contact" or I won't be able to contact you and send you your surprise! Remember to use the Hostess Code: MBENMSQV
Thank you for looking in today. Off to bed, it's been a long day!
~ Donna
Stampin' Up! has come through again with more beautiful DSP in the 2015 Annual Catalog. As I've said many times in the past I was totally taken with the Painted Blooms DSP in the Occasions catalog and it will be my favorite for a long time, however, this new DSP, English Garden is making a big impression on me.
Both pieces used on these cards and envelopes come from two separate papers within English Garden. They go so well together, don't you think?
Recipe:
Night of Navy - 8 1/2" x 5 1/2", scored at 4 1/4"
Hello Honey - 5 1/4" x 4"
DSP flowers - 5 1/8" x 3"
DSP stripes - 5 1/8" x 2"
Ribbon - 5/8" Organza Ribbon
Stamps: You've Got This
Punch: Decorative Label
Thank you for looking in today... here comes Monday again!
~ Donna
If you are reading this in an email, be sure to use the link below to my website to read this in blog format so you can see the items used and be taken directly to my store for shopping!