Showing posts with label Tips and Tricks. Show all posts

Saturday, July 5, 2014

Sea Street Birthday

This Sea Street set really is a fun set!  I love the little Octopus!  Who can resist that adorable smile?  The "happy birthday" is from And Many More.

Let me give you a little tip on stamping with solid stamps.  Make sure your ink pad is nice and juicy.  This will ensure you always have a nice bold stamp. 

Another tip, and this should be applied to ALL new stamps.  Before using a new stamp, clean it with your Stampin' Scrub and Stampin' Mist.  This will remove any residue remaining on the rubber from the factory.  Trust me, you'll thank me for this tip.  It makes a huge difference.


Thank you for looking in today.  I hope you had a fabulous 4th of July and now a wonderful weekend ahead to continue the celebrations and time with family and friends!
 
Click below on any items you love to take you directly to my store for easy shopping.  You'll notice I list the stamps twice, one is the wood set, one is clear mount, for your convenience.
 
Happy Stamping!
~ Donna


Wednesday, July 25, 2012

Framelits Tips and Tricks

I just LOVE the new Framelits Dies that Stampin' UP! is coming out with and beginning August 1st you'll be able to purchase them too!  Here's a couple of great tips to make them even more fun to use.

When stamping mulitple design shapes, instead of cutting one at a time, stamp several together and then you can cut them all at once. 

When using this method, grab a small post it note and use the sticky part to hold down the Framelit so it won't move.  You'll have a perfect cut every time.  Be sure you press the post it down on both sides of the frame, inside and out where it cuts so it has a good hold.


See - perfect!


This is what happens when you don't hold them down.  The first one in line was fine (the large gumball green one), it was first through the press, the others moved as the cutting plates pull away just before the pressing starts.


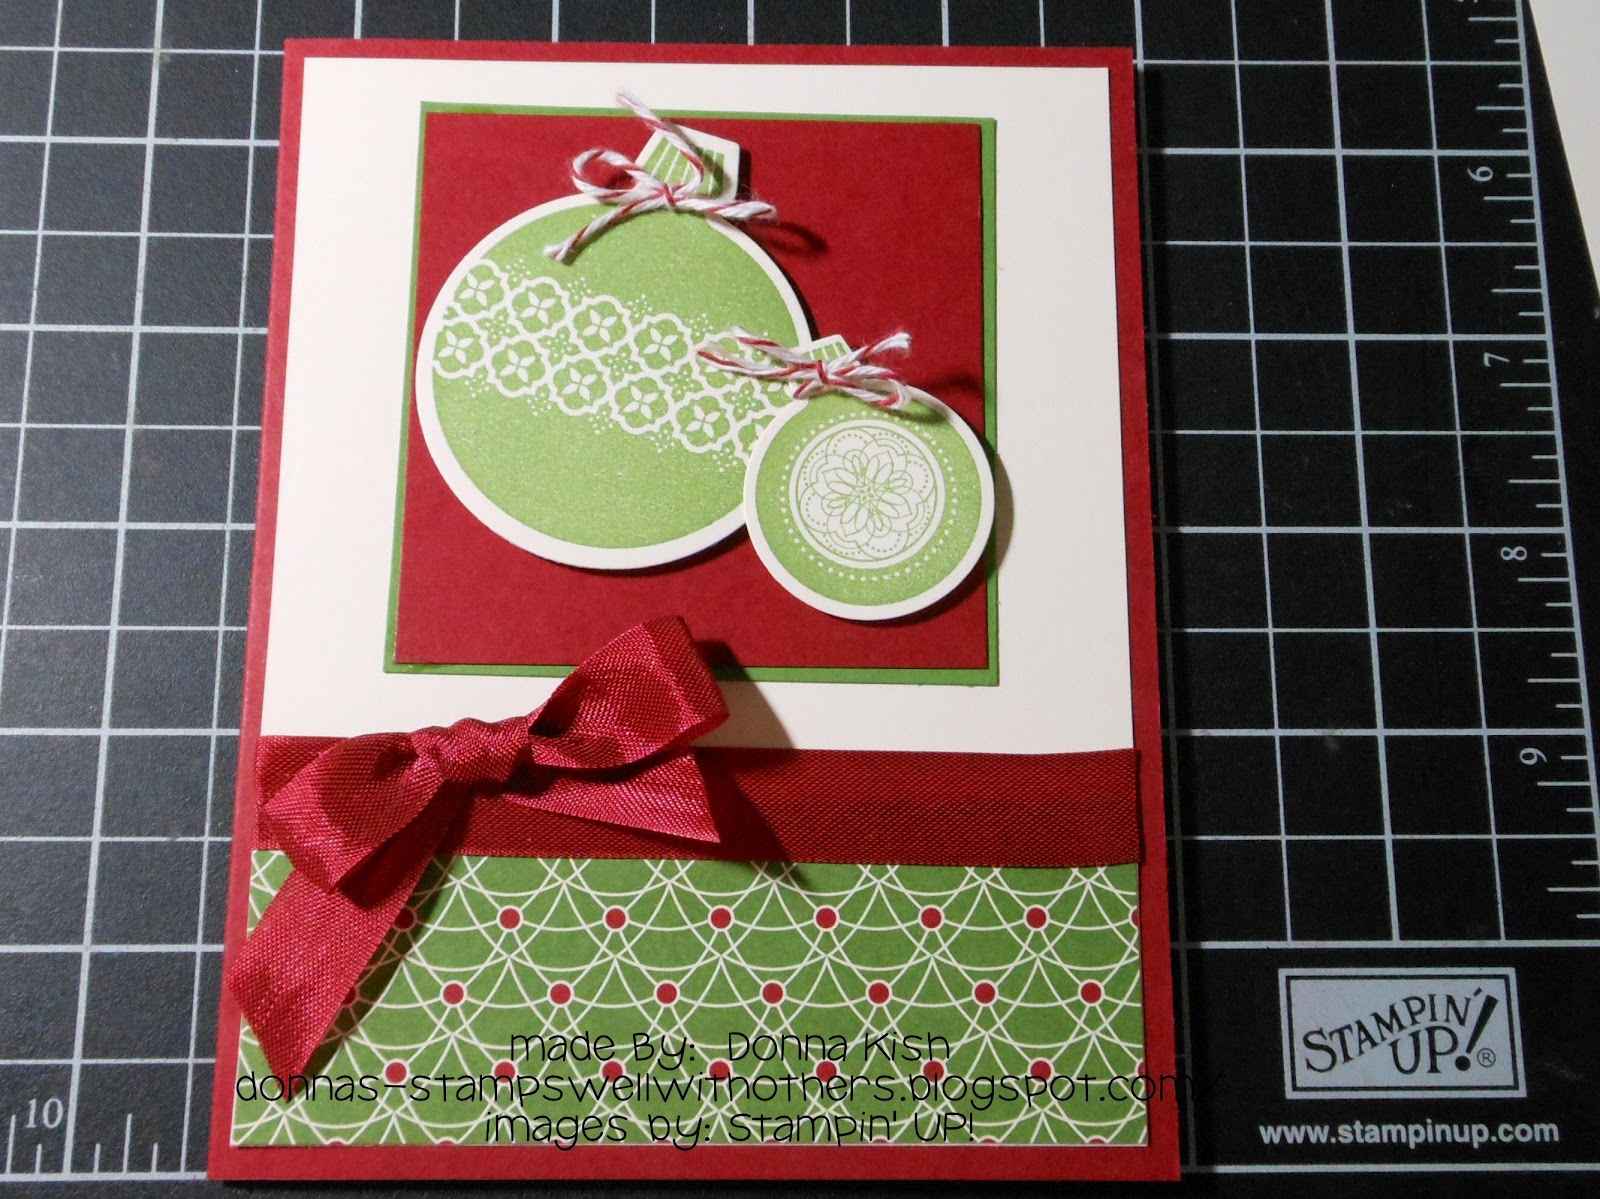
Here is my creating using the soon to be released Ornament Keepsakes stamps and the Holiday Ornaments Framelits Dies.  They can be purchased separately or in a bundle which will save you about 15% - who can pass up that great deal?  Not me!


Inside Stamp:  Greetings of the Season - also from the upcoming Holiday Mini.


Hope you're having a great day!  I'm enjoying some stamping time and catching up on some posting.

Happy Wednesday!

~ Donna

Saturday, January 28, 2012

Paper Saving Tip

We all love to get the most out of our precious papers, right?  Well, today I figured out how to make punching and stamping more cost efficient.

Stampin' Up! Regional's are coming to Phoenix - Yayyyy! on February 11th, so that means it's time to make some swaps to exchange with the other excited stampers there.  My card involves little 1" and 1 1/4" squares and I was having a hard time knowing where to stamp so I could stamp first and then punch out what I stamped.  If I punched first, then I had a hard time stamping on that little square and not making it look just awful.

So... here is my solution.  Brilliant if I do say so myself!  No doubt someone else thought of this and tried it, but I haven't seen it anywhere, so I'll assume this is my very own creation!  Ha! 

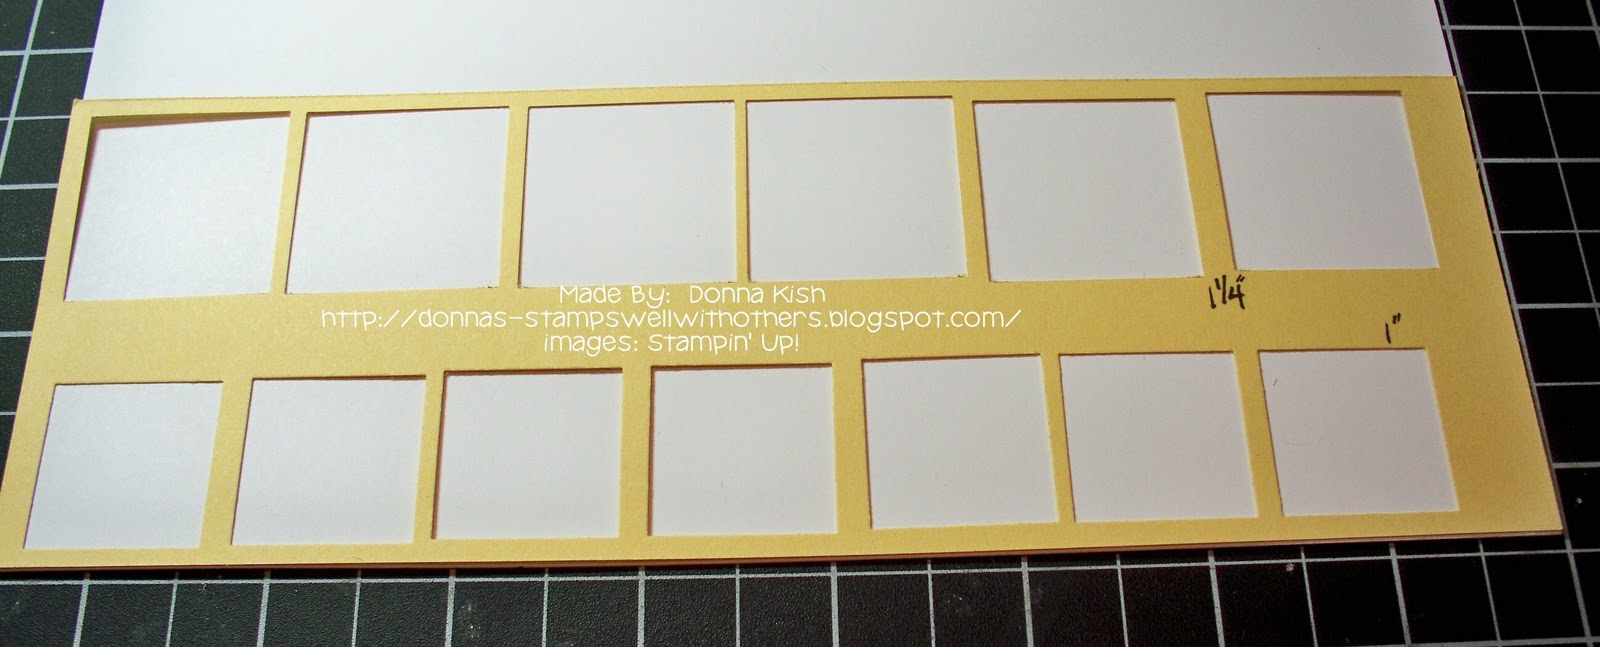
I took a piece of 8 1/2 by 11 and punched across the short edge as many squares as I could fit with giving enough room between to be frugal but also give enough room for straightening if I stamped a bit crooked.


Using a little bit of Dotto (103305), a temporary adhesive, I was able to attach the template to my paper for stamping.  My original small template I tried at first was the same color, Whisper White, but I discovered having a different color cardstock made it easier to find the center.

After I have a row stamped, I remove the template and punch them out.  I did all the 1" ones first so that I didn't have the space you see in between.  As soon as I punch that row, I trim off the little excess and start stamping again.  Then when I was ready for the 1 1/4" punch, I just turned the template the other way.

I hope this little trick helps you like it's helping me.  It's working like a charm!  So now, I'm heading back to stamping and punching so I can get my swaps assembled.  Regional will be here before I know it!!

~ Donna

Wednesday, December 7, 2011

Mini Jingle Bells... hard to thread?

Ok, so I love the little Mini Jingle Bells (124116) but I get so frustrated trying to thread the bakers twine or anything else for that matter through that little mini opening.  So I put on my thinking cap and all of a sudden, I GOT IT!!!

Now, some of you young folk may not know what this is, but it is a "needle threader" found in sewing kits.  I don't know if they still come in them or not, but there was always in ones my Mom had.  Of course, when I was young, I didn't need that silly thing.  Now that my eyes squint... I need that thing! 

So off I ran to the sewing maching and there she was, just waiting for me!

The thin little wire goes through the bell opening, then the bakers twine goes through the thin wire.


Gently pull and the twine is now threaded through the bell!  Yah Hoo!


I may just buy some more of those cute little Mini Jingle Bells now that I don't feel like throwing them across the room!  hahaha!

Happy Threading!

Contributors