Monday, November 30, 2015

Last Day for Online Extravaganza & Updated Reason for the Season

Don't forget, today is the last day of the Online Extravaganza!  If you want to save money on some of your favorite products, don't miss out!


You've seen this card before, but I finished the inside and wanted to show you what I added.  To see the original post, click HERE

On the outside, I added some tiny rhinestones onto the yellow flower centers.


Inside I added 5 1/4" x 4" on the right hand panel and stamped "Merry Christmas" from Versatile Christmas.


On the left had panel, I added the following bit of information that I had heard years ago.  For some reason the thought of it came back to me and I went searching and found it.

Feel free to use it.  I think it's beautiful!


Thank you for looking in today!

Happy Monday ~  Donna

If you are a subscriber to my blog, most likely you receive my blog posts in your email.  If so, you may not be seeing everything that is available.  Especially the supply list that should appear below.


To see the full blog post, simply click on the Title at the top of the email and you should be sent to the blogspot page.  Then you should be able to see any videos posted as well as the supply list I often place at the bottom.  Give it a try!


Built for Free Using: My Stampin Blog

Sunday, November 29, 2015

Gift Certificates (hints for Santa!)

Christmas is just around the corner and Santa can always use some help knowing exactly what  you want for Christmas!  Help him out with a wish list so he can get it perfect! Santa will appreciate the tips. 


Dear Santa

Stamping is something I really like to do,
so I'm making a little list, just for you!

Pick one, two, or three things for me
I sure would love to find them under my tree!

I really have been good this year
And I'd really love some new stamping gear.

Just contact Donna Kish to order from my list
I'm sure by now, Santa, you're getting the gist!

The goodies will appear at your front door
Simple for you, and for me - stamping galore!!

Thank You Santa!


Have your Santa contact me once you have your list ready and I'll see to it that it gets to Santa for delivery or you can have Santa order a Gift Certificate from me that you can shop with later.  (This gift certificate can only be used with me and is not redeemable through Stampin' Up!)

I'll even send the gift certificate in a beautiful Christmas Card ready to deliver!

Support small business... Every Day!

~ Donna


Saturday, November 28, 2015

Oh Come All Ye Faithful...

It's time to get serious about Christmas cards and getting them ready to send out.  I have several here and there ready to go, but really need MORE!

So, here's one I made from a card I spotted by Brian King.  I love his simple layouts and bold borders.  I changed up the colors and added some of our pretty gold thread.


Recipe:

Base:  Early Espresso - 8 1/2" x 5 1/2, scored at 4 1/4"
Very Vanilla - 5 1/4" x 4"
Early Espresso - 4 1/2" x 2 1/4"
Crumb Cake - 4 1/4" x 2"
DSP - Sweet Li'l Things


I stamped the image onto the Sweet Li'l Things Designer Series Paper (DSP) and onto Shimmery White card stock.  I used an aqua painter to color with ink from the lids of Blushing Bride and Marina Mist.  I also used Soft Suede and Daffodil Delight.  Then with some fussy cutting I cut out the watercolored image and attached it to the stamped image on the DSP.


I punched the DSP images with the 2 1/2" Circle Punch and Early Espresso was cut using the Circles Framelits Dies.


I wrapped Gold Metallic Thread around my fingers several times and attached it to the back of the Early Espresso circle with some tape and then popped up the circle with Stampin' Dimensionals.


Inside Sentiment:

Thank you for looking in today.

Don't forget to shop the Online Extravaganza before it is over!

~ Donna

If you are a subscriber to my blog, most likely you receive my blog posts in your email.  If so, you may not be seeing everything that is available.  Recently I posted a YouTube video from Stampin' Up! and when the email came to me (yes, I subscribe to my posts at a different email address, so I can see how they look to you.)  There was no video in the email, but it was on the blog.


To see the full blog post, simply click on the Title at the top of the email and you should be sent to the blogspot page.  Then you should be able to see any videos posted as well as the supply list I often place at the bottom.  Give it a try!


Built for Free Using: My Stampin Blog

Friday, November 27, 2015

Happy Birthday Linda

Are you planning to brave Black Friday shopping?  This girl most certainly is not.  BUT... how about some Online Extravaganza Shopping instead?  That is my favorite kind of shopping, in my jammies, slippers and a nice cup of coffee.


Don't miss out on the fabulous deals Stampin' Up! is offering during this annual sale!


Here's another birthday card using Watercolor Words.  I think this cam  out looking really good and the recipient liked it, so that's all that matters!

The Designer Series Paper used was English Garden.  I love the polka dots, don't you?  


Thank you for looking in today - stay safe out there if you brave the crazy shoppers out there this weekend!

~ Donna

Wednesday, November 25, 2015

Happy Birthday with Watercolor Words

With all the holiday cards being made lately, we mustn't forget the every day cards, like birthdays, so I decided to make up a few tonight to add back to my supply.

I thought it would be nice to dig up some pretty flowers and use English Garden Designer Series Paper.  I still love this beautiful paper and will look forward to spring to use it on some pretty spring cards.  For now, let's do birthday!


I made up a couple of extras (one shown) without sentiments that I can use when I need to whip up something fast.  It is always nice to have some backup ready to top off.


Recipe:
Base - Blushing Bride - 8 1/2" x 5 1/2", scored at 4 1/4"
Mossy Meadow - 5 1/4" x 4"
Designer Paper - 5" x 3 3/4"

Sentiment Mat Mossy Meadow - 3 5/8" x  2 3/8"
Sentiment Whisper White - 3 1/2" x 2 1/4" 

Sentiment Stamps - Watercolor Words


Tomorrow is Thanksgiving - I'm so thankful for you who read my blog and for all my customers!  Thank you for keeping my job fun!

Thank you for looking in today ~

~ Donna

Tuesday, November 24, 2015

Weekly Deals - November 24, 2015

WEEKLY DEALS

We hope you enjoy this week's Weekly Deals!


139756G


Embellished Ornaments Wood-Mount Stamp Set Item # 139756
Regular Price: $28.00 US/$34.00 CAN
Discounted Price: $21.00 US/$25.50 CAN


Dazzling Diamonds Glimmer Paper Item # 135315
Regular Price: $5.00 US/$6.25 CAN
Discounted Price: $3.75 US/$4.69 CAN


Berry Merry Photopolymer Stamp Set Item # 139768
Regular Price: $17.00 US/$21.00 CAN
Discounted Price: $12.75 US/$15.75 CAN


Winter Wonderland Designer Vellum Stack Item # 139594
Regular Price: $10.00 US/$12.50 CAN
Discounted Price: $7.50 US/$9.38 CAN

Monday, November 23, 2015

Reason for the Season

This card has been on my list to make for quite some time and this weekend, I finally had the time to create it.  I only wish you could see how pretty it is in person.  I stamped onto Shimmery White card stock and it has a great little sparkle to it without being over powering.


The poinsettia stamps also have an outline and center line stamp to go with the stamps I used, but I think it looks so much better without the lines. It has a softer look this way, don't you think?


Simple recipe:

Base - Cherry Cobbler - 8 1/2" x 5 1/2" scored at 4 1/4"
Top - Shimmery White - 5 1/4" x 4"
Ink:  Cherry Cobbler, Mossy Meadow
Centers - Crushed Curry - punched with the Cupcake Punch
Stamps - Reason for the Season

Don't forget the Online Extravaganza begins today!  Click the link below for all the specials available!


Thank you for looking in today!  

It's Thanksgiving Week!  What are YOU Thankful For?

~ Donna

Sunday, November 22, 2015

It Is Online Extravaganza Time!

Forget Black Friday - it is time for Stampin' Up! and our 
Annual Online Extravaganza!


20% to 50% off dozens of stamps, ribbon, paper,
Paper Pumpkin kits and more, Nov. 23 to Nov. 30
 
See Flyer for 1 Day Flash Specials, including:
Buy 3 Get 1 Free Designer paper 
and three other items ONLY available on Monday, Nov. 23

 
30% Off Project Life Bundle, and 
two other items ONLY available on Monday, Nov. 30
 
all other items available Nov. 23 - 30, 2015

TWO  24-hour flash sales for specific products will happen during this promotion:  one on November 23rd and one on November 30th

Past Pumpkin Kits and Kit Refills in Online Extravaganza are available for purchase by subscribers AND non-subscribers!

DON'T MISS THESE DEALS!
1. Mark your Calendars
2. Grab your Wish List
3. Print out the Savings Flyer!

Thank you for looking in today.

~ Donna

Saturday, November 21, 2015

Snow Place Nugget Snowman

These are just the cutest snowmen this year!

Thanks to France Martin "Frenchie" for sharing these.  I just LOVE them!


Simply ink the face  of the large snowman with your Basic Black Stampin' Write Pen and color in his nose with Pumpkin Pie Stampin' Write Pen.  These were stamped on to Avery Label 5160 or you can cut a piece of Whisper White Card Stock 2 5/8" x 1" and attach to the nuggets with a glue dot or two.

Stamp the hat, scarf or anything else you would rather use to decorate your snowman and cut them out with the matching framelits.  Snow Place stamps and Snow Friends Framelits Dies can be purchased as a bundle saving you 15% over individual prices.


I bagged them up in a 4 x 6 cellophane bag.  Place the snowman in the center and turn over to the back.


Using snail attach one side of the bag to the back, then with more snail on the other side, close it over to make a nice smaller bag.


Here's how to make the box.  Begin with a piece of card sock 6 1/4" x 3" and then score on all four sides at 1/2" and 1".


After cutting out the extra pieces shown with " / " on the picture above, trim just a bit more off for easier folding as shown in the picture below:


Fold using your bone folder for a nice crisp fold.  Remember to fold into the "mountain" of the score hump.  Place snail on the four outside edges.  Fold in the small tabs at either end and fold over the long side over the small tabs.


Here is how one side looks when folded in.  Repeat with the other side and fold in the end flaps.


Thank you for looking in today.  Please let me know if you have any questions.

Have a Happy Saturday! 

~ Donna


Thursday, November 19, 2015

Guest Stamper Mary

Mary made this beautiful card that I wanted to share.  

The Mosaic Madness stamps and the Mosaic punch are both retired, but I think they look really good for a nice simple Christmas Card.

The sentiment however, is a new one from Embellished Ornaments.  


I love the bling of the rhinestones.  Nice job Mary!

Thanks for looking in today.  

~ Donna

Tuesday, November 17, 2015

Thank You Very Very Very Much


This is something entirely new for Stampin' Up!  Sharing the list of items retiring out of the Holiday Catalog.  If there are things on your wish list, order them as soon as possible so you don't miss out.

Retiring products are only available while supplies last. The lists of retiring products will be updated every business day. 

CLICK HERE to download the pdf version and SHOP NOW - Remember to check out the WEEKLY DEALS as well!

Now for today's card.

I wanted something bright and eye popping for a special customer thank you.  I love the Daffodil Delight and Calypso Coral together.  

I began with a base of Whisper White Thick Cardstock.
Daffodil Delight - 5" x 3 3/4"
Subtles Color Collection (polka dots) - 4 3/4" x 3 1/2"
Daffodil Delight - 4"  x 2 3/4" 
Subtles Color Collection (polka dots) -  3 1/2"  x 2"
Whisper White - 3" x 1 1/4"

Stamp Set Fabulous Four stamped in Calypso Coral.


Thank you for looking in today!

~ Donna

Monday, November 16, 2015

Curvy Keepsake Christmas Bulbs

When I first spotted the Curvy Keepsake Box Thinlits Die, I immediately thought it was a Christmas Bulb.  Then I found out it was a box and was really surprised and of course love it as an adorable tool we have in our line up of great products.

On SplitcoastStampers there is a video tutorial for making today's project.  Since I don't yet do videos, I've made a pictorial tutorial (say that three times fast!) for you to see.  I've changed up some of the measurements because it just made more sense to me and I changed up the way to make the bottom of the bulb since the punch that was used on Splitcoast is retired for Stampin' Up.


Begin with a piece of cardstock 11" x 3 1/2".  Place the Curvy Keepsake Die as shown below.  This way you can make two full bulbs with a whole sheet of 11" x 7" sheet of cardstock.


Here is how the two cuts will fit on your 1/2 sheet of paper:


Trim off the portion that overlaps.

So that it looks like this:

Score 1 1/4" from the bottom of the bulb.  The dotted line will be where you will score across.

Fold on the score line, add Liquid Tombo Glue or Tear and Tape and place the two pieces together.  Be SURE the bulbs line up straight.  The bottoms you are attaching together will not be straight so you want to be sure your final product lines up properly.


Make the base:

If you have the retired Square Scallop Punch, you can use that by cutting a piece of Gold or Silver Foil paper 2 1/2" x 1 1/4" and slide the small strip into the punch and punch off just a small bit off of each end.) 

Since that punch is retired, I found a way to make three bases fairly easily.  To make three bases of the bulb use the Scallop Square from the Squares Collection Framelits.  

Begin with a piece of Gold or Silver Foil Paper 12" x 2 3/4". Place the Scallop Square at the edge of the paper on two sides.  Run it through the Big Shot.  You will be able to cut another piece left from the remainder of the 12 inch piece. 


Turn the foil paper around and line the side scallops up carefully with the framelit scallops.  Be sure to have a visible strip of paper along the bottom so that you get a clean scallop. 

Line the scallops up on your Simply Scored tool (this is why it was necessary to make sure your scallops lined up when cutting them) and score from one end to the other.


Place the scalloped piece onto your trimmer and slice off the very end so you have a clean edge.

Cut the remainder of the pieces into 1 1/4" sections.  You will have a small piece left at the other end. 

Place Tombo Liquid Glue or Tear and Tape as shown below and place the  gold base on each side.


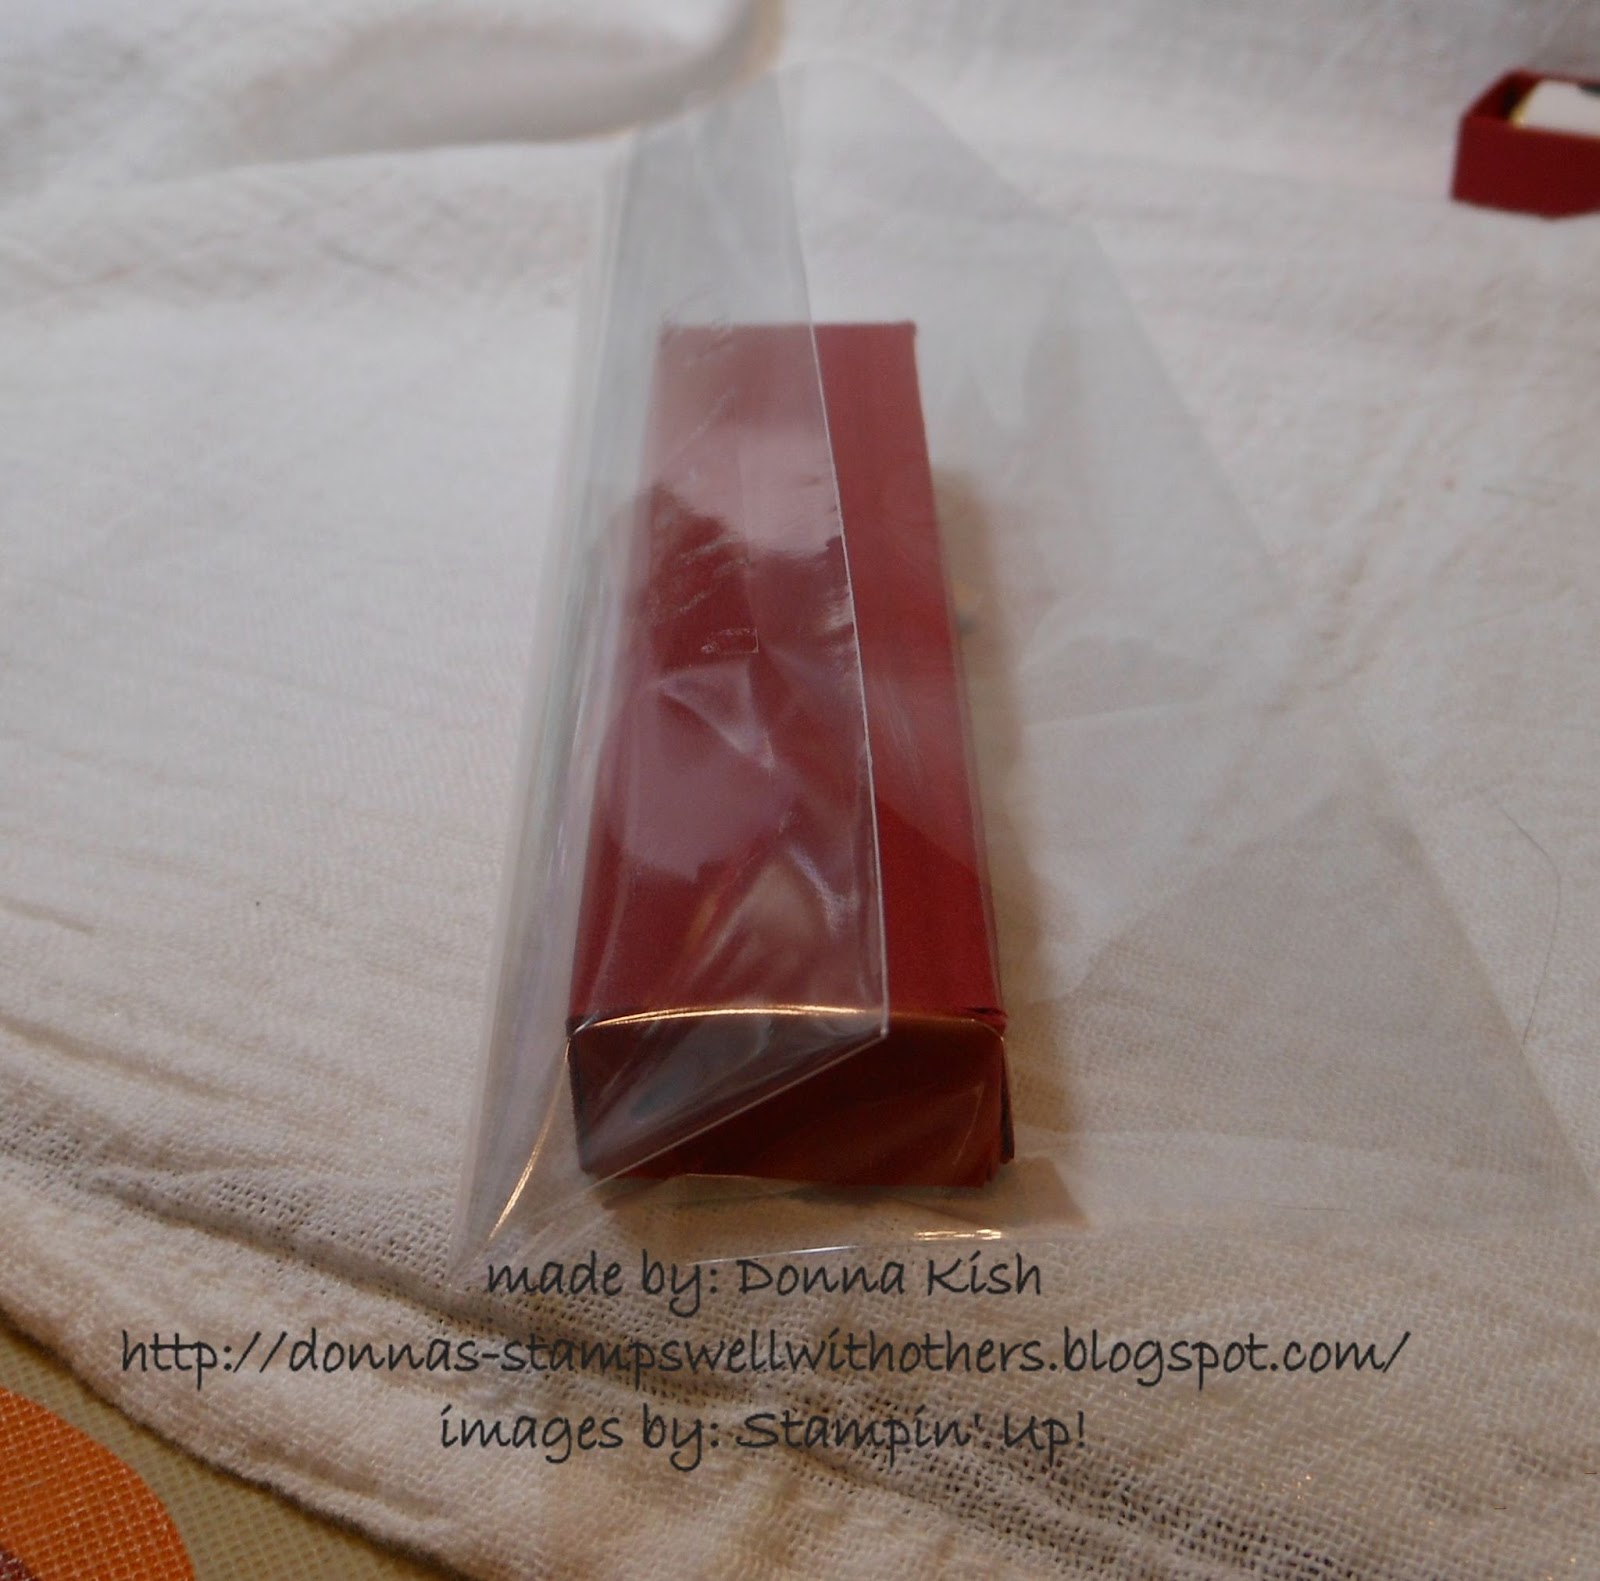
Decorate with tags - also from the Curvy Keepsake Box set of dies.

Inside you can adhere your favorite treat.  Maybe a nice Ghirardelli chocolate square or two or three! 
Use your white gel-pen to make a reflection on the side of the bulb.


If you have any questions about these instructions, please let me know.  I will be happy to answer any questions.  I think you will really enjoy how this turns out.

Thank you for coming in today.  I'd love to hear your comments.  Would you take a moment to leave a comment for me?

Happy Monday!

~ Donna

If you are a subscriber to my blog, most likely you receive my blog posts in your email.  If so, you may not be seeing everything that is available.  The other day I posted a YouTube video from Stampin' Up! and when the email came to me (yes, I subscribe to my posts at a different email address, so I can see how they look to you.)  There was no video in the email, but it was on the blog.


To see the full blog post, simply click on the Title at the top of the email and you should be sent to the blogspot page.  Then you should be able to see any videos posted as well as the supply list I often place at the bottom.  Give it a try!

See Stampin' Supplies Below:


Built for Free Using: My Stampin Blog

Contributors