Showing posts with label Beautiful Day. Show all posts

Wednesday, August 14, 2019

Beautiful Day

I thought I'd spend some time with my Designer Series Paper swap.  It's fun being able to have a big variety of paper to use.


Recipe:
Pacific Point - 5 1/2" x 8 1/2", scored and folded at 4 1/4"
See A Silhouette Designer Series Paper - 2" x 5 1/4"
Granny Apple Green - die cut with Stitched Rectangles - about 1 3/4" x 3 3/4"
Whisper White - 1 1/4" x 3 1/4" - for sentiment
Whisper White - 4" x 5 1/4" - for inside
Granny Apple Green 1/2" Textured Weave Ribbon - 10 inches - wrapped around the card and taped together on the front and hidden with the sentiment.


I had a little bit of of DSP left so just put a little on the flap since there wasn't enough to do the whole flap.  Add some bling and you've got a pretty little card!


Thank you for looking in today.  It's Happy Hump Day!  Still love that funny camel!

~ Donna


Product List

Sunday, July 22, 2018

Square + Square + Sentiment

Today's inspiration comes from Mary Fish.  My mojo needed a boost and here it is!  However, after cutting the DSP (Designer Series Paper) for a couple of cards using Mary's measurements, I changed it up with new measurements.  Here is why.  The DSP comes in a 6" x 6" square and Mary's card was cut at 3 1/4" x 3 1/4" leaving 2 3/4" to work with.  So, I changed my DSP to 3" x 3" and that way I can get 4 squares out of a 6" x 6" square.


I wanted to use cardstock and ribbon that matched, so even though none of cardstock colors match the colors in the DSP, they work perfectly together.  I used Blueberry Bushel, Call Me Clover and Grapefruit Grove.  The Grapefruit Grove and Call Me Clover are the larger squares.


Recipe:
Soft Sea Foam - 8 1/2" x 5 1/2", scored and folded at 4 1/4"
Solid Cardstock - 3 1/4" x 3 1/4" (Grapefruit Grove, Blueberry Bushel, Call Me Clover)
DSP - 3" x 3"
1/8" Grosgrain Ribbon - (same colors)


Stamps used for sentiments:
Blended Seasons (coming August 1st for a limited time)
Beautiful Day 


Thank you for looking in today and for hanging in there while I recuperated.   My hip is feeling much better and we even went out for lunch on Saturday and a very short grocery trip late at night when the place was nearly empty.  That's the best time to shop anyway.  No screaming littles running around!

Have a Blessed Sunday!

~ Donna


Friday, April 20, 2018

Petal Passion with Memories and More

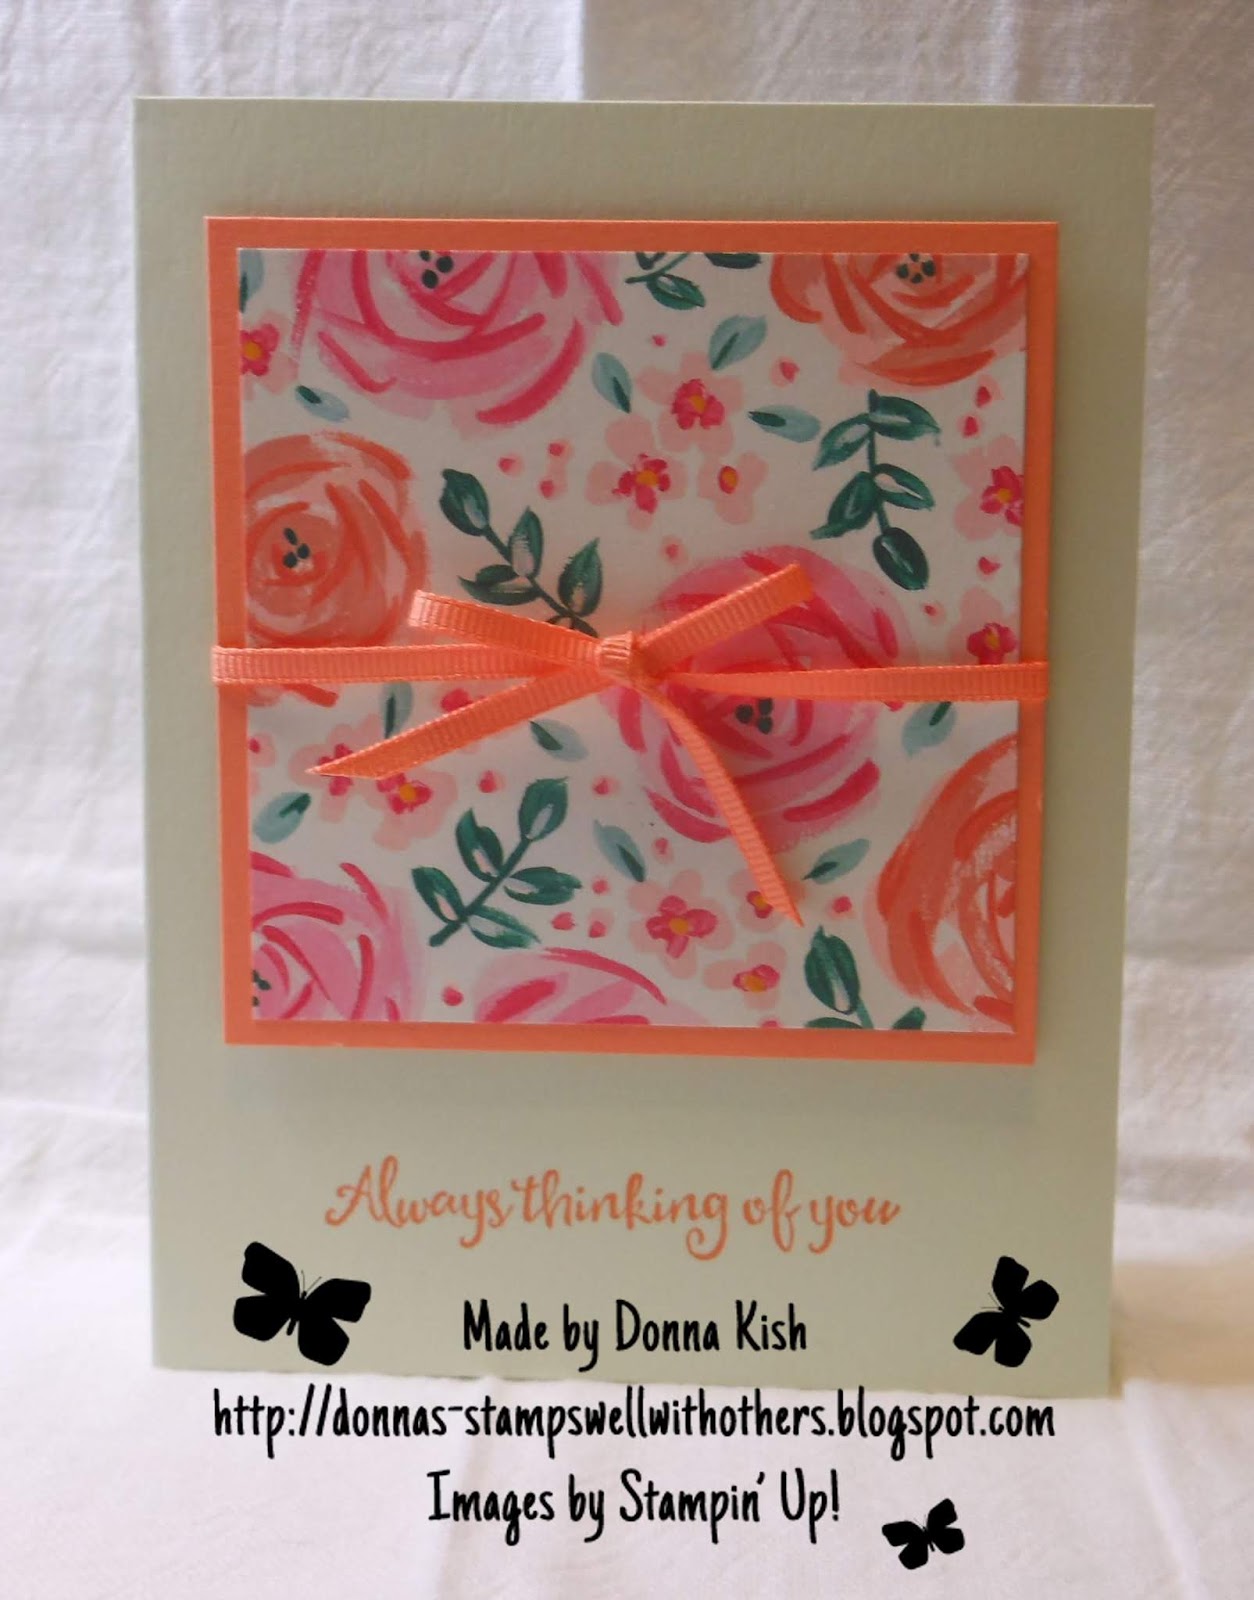
I saw this idea on Patty Bennett's blog and she saw the technique on Cindee Wilkinson's blog.  I loved the way the flower and butterfly from Beautiful Day looked using the Painted With Love Designer Series Paper from Stampin' Up!

The backgrounds for the cards come from the Petal Passion Memories & More Card Pack.  I've used these cards for backgrounds before and just did some coloring on them.  To see that post, click HERE.


I began by stamping the Butterfly and the Flower from Beautiful Day onto Painted with Love Designer Series Paper with our Memento Black Ink and then fussy cut them with my paper snips.  I did try to cut them out with my Scan & Cut, but it didn't see the lines - I think because of all the colors.

Recipe:
Melon Mambo - 11" x 4 1/4", scored and folded at 5 1/2"
OR
Calypso Coral - 8 1/2" x 5 1/2", scored and folded at 4 1/4"
Petal Passion Memories & More Card Pack - trimmed to 5 1/4" x 4" (the 4" is the width already)


Within the card pack there are some laser cut words and some banners you can also stamp on and then simply add them to the cards.


Big thanks to Patty and to Cindee for sharing so that I can CASE and share them too!

Happy Friday!  Thank you for looking in today.  Have a great day!

~ Donna

Friday, April 6, 2018

Butterfly Swap

After taking Wednesday off work to have a day with some friends, going back to work on Thursday was a bit busy playing catch up.  It wouldn't have been so bad if I didn't have a class in the afternoon on top of it!  Then when I got home, I started researching more about my Mom.

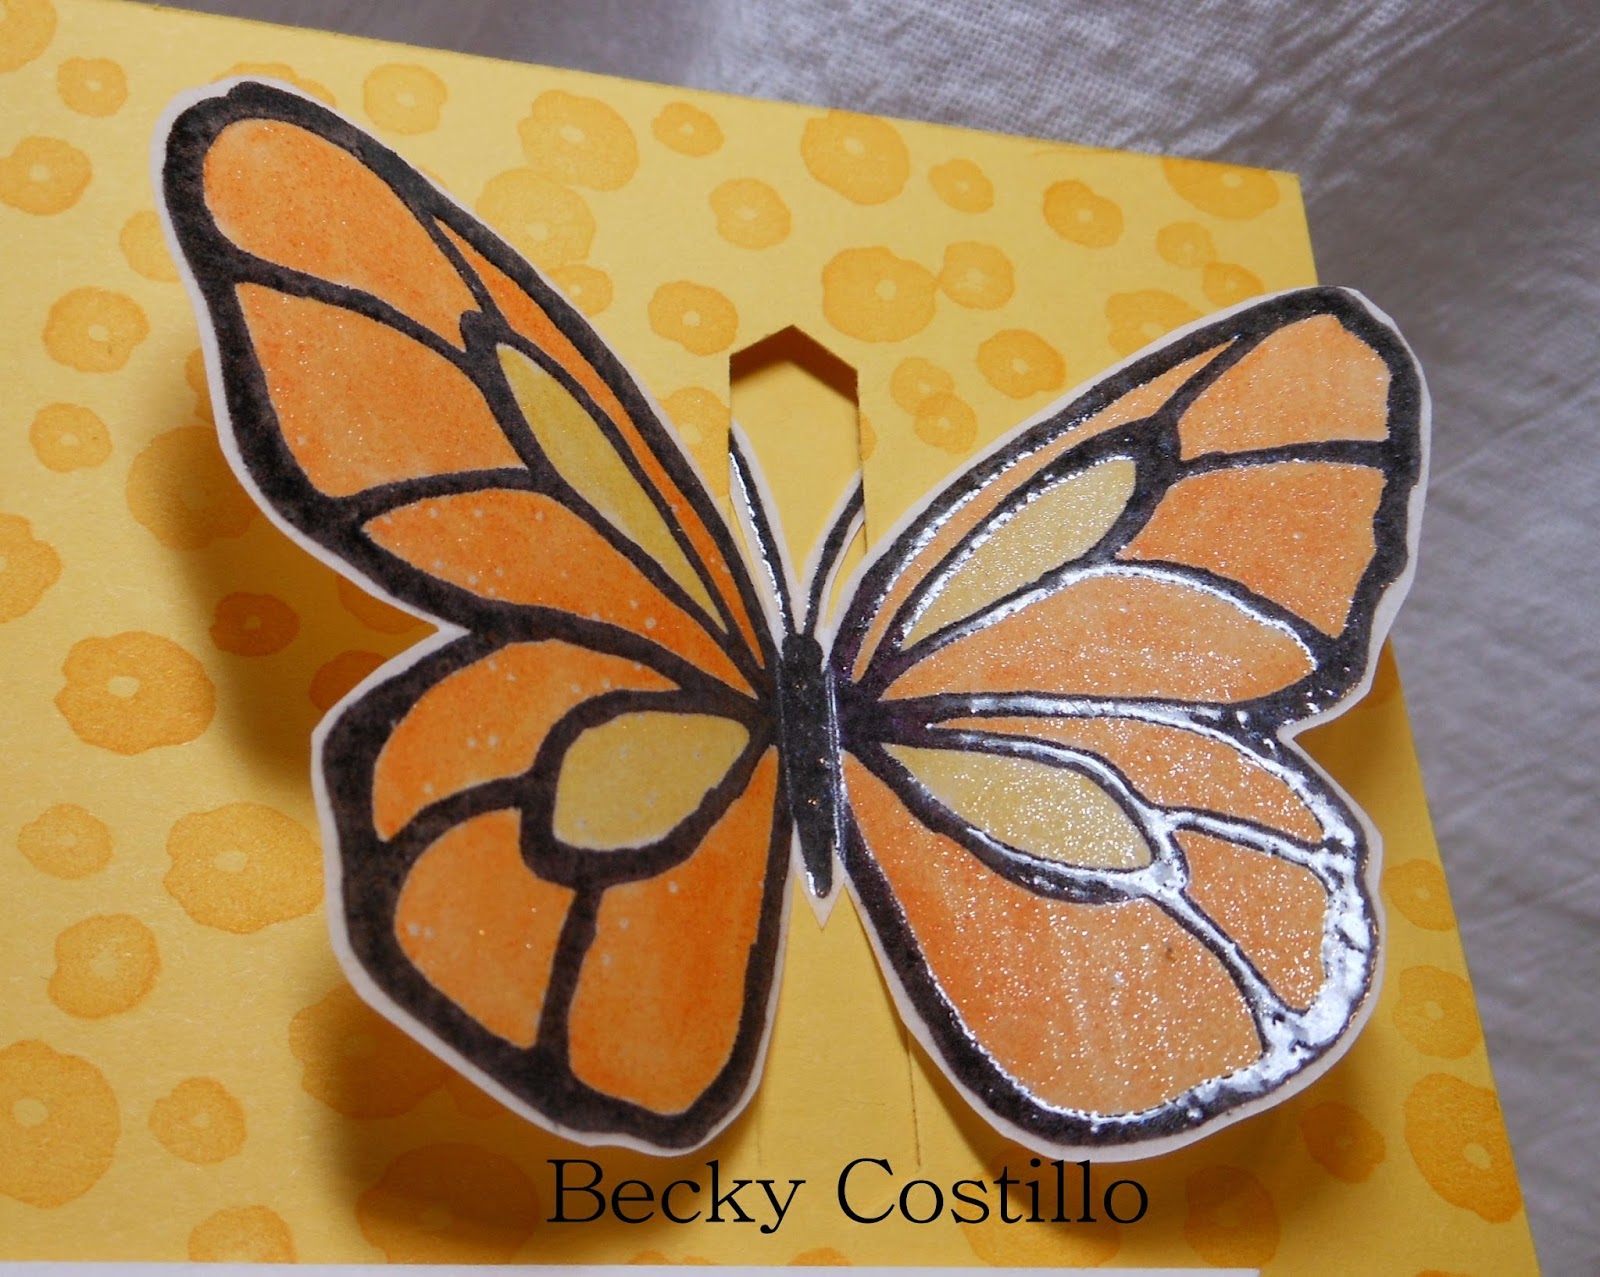
That all being said, I'm sharing a swap card tonight as I just haven't made one to share.  Besides, this is a really cool card with a fun trick.  This one was done by Becky Costello of our weSTAMP Team.  Great Job Becky!

With the card closed completely, it looks like this:

As you start to open it, the butterfly wings come together: 

Open it all the way and the butterfly is inside the card and you can see the Classic Label Punch that the butterfly was sticking through.

Here's a closeup of the butterfly.  I wish it came out better, but it still looks good. 

Thank you for looking in today!  It's finally Friday!

Have a great weekend ~

Donna

Tuesday, February 6, 2018

Beautiful Day with Brusho

I am really enjoying playing with the new Brusho Crystals.  Easy to use and so many different looks with each card.


For this card, I stamped the flower from Beautiful Day onto Shimmery White with VersaMark and then sprinkled with Gold Emboss Powder and set with my Heat Gun.

To color the flower, I sprinkled very gently some of the Yellow Brusho onto a clear block and then using my Aqua Brush I added just a bit of water and then colored the flower in.


Recipe:
Daffodil Delight - 8 1/2" x 5 1/2", scored and folded at 41/4"
Basic Black - 4" x 4"
Tutti-Frutti Designer Series Paper - 3 3/4" x 3 3/4"
Whisper White Strip - 4" x 1" (or close)
Basic Black 4" (plus) x 1" (plus) When it's close like this I usually stamp and trim the white and then lay it on a piece of black and cut it close with snips or trimmer.


Thank you for looking in today.  Have a Happy Tuesday!!


~ Donna

Saturday, February 3, 2018

Beautiful Day with Stampin' Blends

I'm really enjoying coloring again with our Stampin' Blends.  It is so nice to see the colors come to life on the paper and then change a bit as they dry.  It's just beautiful to me!


Recipe:
Cherry Cobbler - 8 1/2" x 5 1/2", scored and folded at 4 1/4"
Petal Passion Designer Series Paper - 5 1/4" x 4"
Vellum Cardstock - 5" x 3 3/4"

Stamp the flower from Beautiful Day with Memento Black onto Whisper White cardstock.  I used the Dark Cherry Cobbler Stampin' Blends inside each petal, towards the center of the flower and then using the light Cherry Cobbler, I colored over part of the Dark and then off to the rest of each petal.  Do only a couple of petals at a time for best blending.


Fussy cut the flower out and the bottom of it is glued to the Old Olive strip and the rest of the flower is popped up with dimensionals.

Remember vellum is unforgiving with adhesive, so be sure to put your adhesive (I use Tombo Liquid) and keep it in the white areas of the paper to keep it invisible where it will be visible.


I added bits of pearls to the center of the flower.

Oh, and the die cut amazing is a freebie from Sale-a-bration - don't miss it!

Thank you for looking in today.  Happy Saturday!

~ Donna


Product List

Contributors