Friday, October 31, 2014

More Stamp-Free Details

Here are the rest of the quick cards I made using the Hello December Project Life Card Collection (135831)


I think the HO HO HO is my favorite - what about you?


Thank you for looking in today.  Let me know if you try these cards.  I think you'll really like them!

~ Donna

Happy Halloween

How about a review?  All these and more can be found by clicking on "Halloween" >>> over there in the right hand column.

Fall Fest - The Great Pumpkin

Holiday Home - Boo to You
http://donnas-stampswellwithothers.blogspot.com/2014/10/holiday-home-boo-to-you.html
 
 
French Fry Candy Corn
http://donnas-stampswellwithothers.blogspot.com/2014/10/french-fry-candy-corn.html
 
Halloween Nugget Holder
http://donnas-stampswellwithothers.blogspot.com/2014/10/halloween-nugget-holder.html
 
Boo - Fun Fall Framelits
 

Halloween Treat Bags

Tiny Treats Times Two 


Hope you all have a wonderful Halloween!  I'll be working late at the office so hubby will be handling the little munchkins that come to the door. 

This is pre-election weekend, so if you don't hear from me for a few days, it will be because I'll be working long hours with no energy left when I get home!  :)  Don't forget to VOTE!

~ Donna

Thursday, October 30, 2014

Ten Cards - No Stamping Details, Details, Details

I promised in the previous post to give you more details to make these fast cards using the Hello December Project Life Card Collection (135831).


For this card, I matted the "lets be jolly" with Lost Lagoon at 3 1/4" x 4 1/4".  All the small cards are pre-cut to 3" x 4" making them quick and easy to mat and pop!

The Cherry Cobbler stripes come from cutting a piece of card stock 5 1/2" x 4 1/4" and then gently scoring them with my Simply Scored Diagonal Plate (125586) and then cutting into strips using my Stampin' Trimmer (126889).  Add a little bling to the stars and you're all set!


The background for this card comes from the All Is Calm Specialty Designer Series Paper (135823) that I had left over from a previous project.  The ribbon looks striped for some reason in this photo, but it really isn't.  Click on the picture to make it bigger and clearer.


Fa la la la la is backed with Whisper White and snowflake DSP from Trim the Tree Designer Series Paper Stack (135824).  I added Frosted Sequins (135835) to both this card and the one above.  I dare you to use up all the sequins in this set.  There are approximately 450 of the little shiny disks and snowflakes!


Here is the easiest one of all.  Trim the Cherry Cobbler "Happy Holiday" down to 5 1/4" x 4" and place it on a card base of 5 1/2" x 8 1/2" scored at 4 1/4".  Add some bling and done.  OR... how about using the white Signo Gel Pen (105021) and draw some dashes and dots around the edges. 


I think this is one of my favorites.  Just trim this one down on each side and mat it with Pear Pizazz after tying on some Cherry Cobbler 1" Sheer Linen Ribbon (135839).  I attached it in the back and then took a second piece of ribbon and tied it into a nice bow knot and attached it with a glue dot.


So there you have the first five.  Come back tomorrow to see the other five cards. 

These are just so much fun and easy to do.  I think I need to get some more!

Thank you for looking in today.  Take a minute and let me know what you think.


~ Donna

Tuesday, October 28, 2014

10 Cards - No Stamping

Yes, you read that correctly, 10 cards - No Stamping!  This was a great idea I got from Susan Itell last week and I immediately had to order the supplies for this.  My box arrived and I sat down Tuesday night and whipped these up in about three hours.  You can do it faster now that I have a basic plan.

For today, I'm going to share a quick sneak peek (because at the time of writing this, it's 11:30 p.m. and I'm sleepy!)

Tomorrow I will share all the cards individually with the details.

For now, here is a look at all 10 cards.


The basics of these cards comes from this product called Hello December Project Life Card Collection and it is in the Holiday Supplement.  I have to admit, I didn't give the supplement much of a look, mostly because I found way too many things to love in the Holiday Catalog.

All you need to make these cards is a few supplies and honestly, things you already have in your card making supplies.


Come back tomorrow for more details!

~ Donna

Watercolor Background

The other day I spotted some beautiful watercolor pictures and I thought "what a beautiful background" that would make for a card, so I started experimenting. 

This ended up being my favorite combination.  So Saffron and Pink Pirouette.  I took our re-inkers and placed a couple of drops into my paint pallet and then added some water.  Mixed it together with my paint brush (about 1/2" wide brush). 

Using watercolor paper I wet the brush with water and painted it across the paper.  Then I dipped it into the Pink Pirouette and gently brushed across the damp paper.  Cleaning the brush I then did the same thing with the So Saffron.

 
Let the paper dry completely and then stamp with your desired sentiment.  Here I used the Another Thank You Photopolymer stamp set. (136835)

Give this simple technique a try and see what your favorite is.  Post a comment and share your discovery!

Thanks for looking in today - be sure to check the Weekly Specials!

~ Donna

Monday, October 27, 2014

Curvy Pumpkins Give Thanks

Hubby is going to go visit his Mom and Sister for a couple of days before my extra long hours at the office begin, so I decided it would be a perfect time for him to take some fall decorations for them to add to their house décor.  They both love to decorate for the holidays and these are just perfect!


For full details on putting together the Curvy Keepsake box, check my Curvy Keepsake Santa HERE.


Thank you for looking in today.  If you would like any of the items I used for these pumpkins, just click on any of the pictures below!
 
Have a great week!  It's MONDAY again!
 
~ Donna


Sunday, October 26, 2014

Minecraft Punch / Cut Birthday

Okay, I'll admit it, I have no clue about Minecraft, so when I needed a card for a young man having a birthday, I went to the experts, Pinterest!  Thankfully my boss (and best customer!) needed to make one for her nephew and found a card with this pattern on it.  There were several out there that were very similar, so there's really no one person to give credit to.

I improvised the pattern as I didn't have the little punch that was used on the card that caught my eye.  Instead, I used the Stampin' Trimmer (126889) with the Rotary Addition (129407) and the Tiny Wave Stampin' Trimmer Rotary Cutting Blade (129409). 

I cut Garden Green and Wild Wasabi card stock to 1/2" x 1/2"and placed them on a piece of Basic Black card stock (4 1/4" (wide) x 3 3/4" (tall)), starting in the lower left-hand corner.


I stamped "happy birthday" from Boys Will Be Boys (w-134135 / cm-134138) with VersaMark and then sprinkled it with Wild Wasabi embossing powder.  Perfect match!

 
Inside, I simply placed a piece of Wild Wasabi inside to keep the theme colors and to give Grandma plenty of room to write what she want's to her little man.


Thank you for looking in today.

My blog may be a bit sporadic these next few weeks as we will be busy at the office prepping for and finalizing the voting process in our county.  I will post when I can, but long hours may send me straight to sleep when I get home at night.

Have a blessed Sunday!

~ Donna

Friday, October 24, 2014

Water Color Winter - Take Two

Here is another card from the Simply Created Watercolor Winter Card Kit.  If you missed the first one, you can see it HERE.

I really enjoyed painting these letters as well as the sled and trees from the first posting.  They were all so simple.  Just a little bit of ink from our refills and a little bit of water and you're ready to paint.  The kit even comes with a watercolor paint brush!

Here I painted the lighter color first, then added more Old Olive refill to make it a little darker, then added a bit more to the mix for the darkest color.

 
To make it easy to line up the letters I used post it notes lined up on my grid paper and attached the post it to the card.  Easy to line up the letters and attach them nice and straight.

 
Finished Product: 

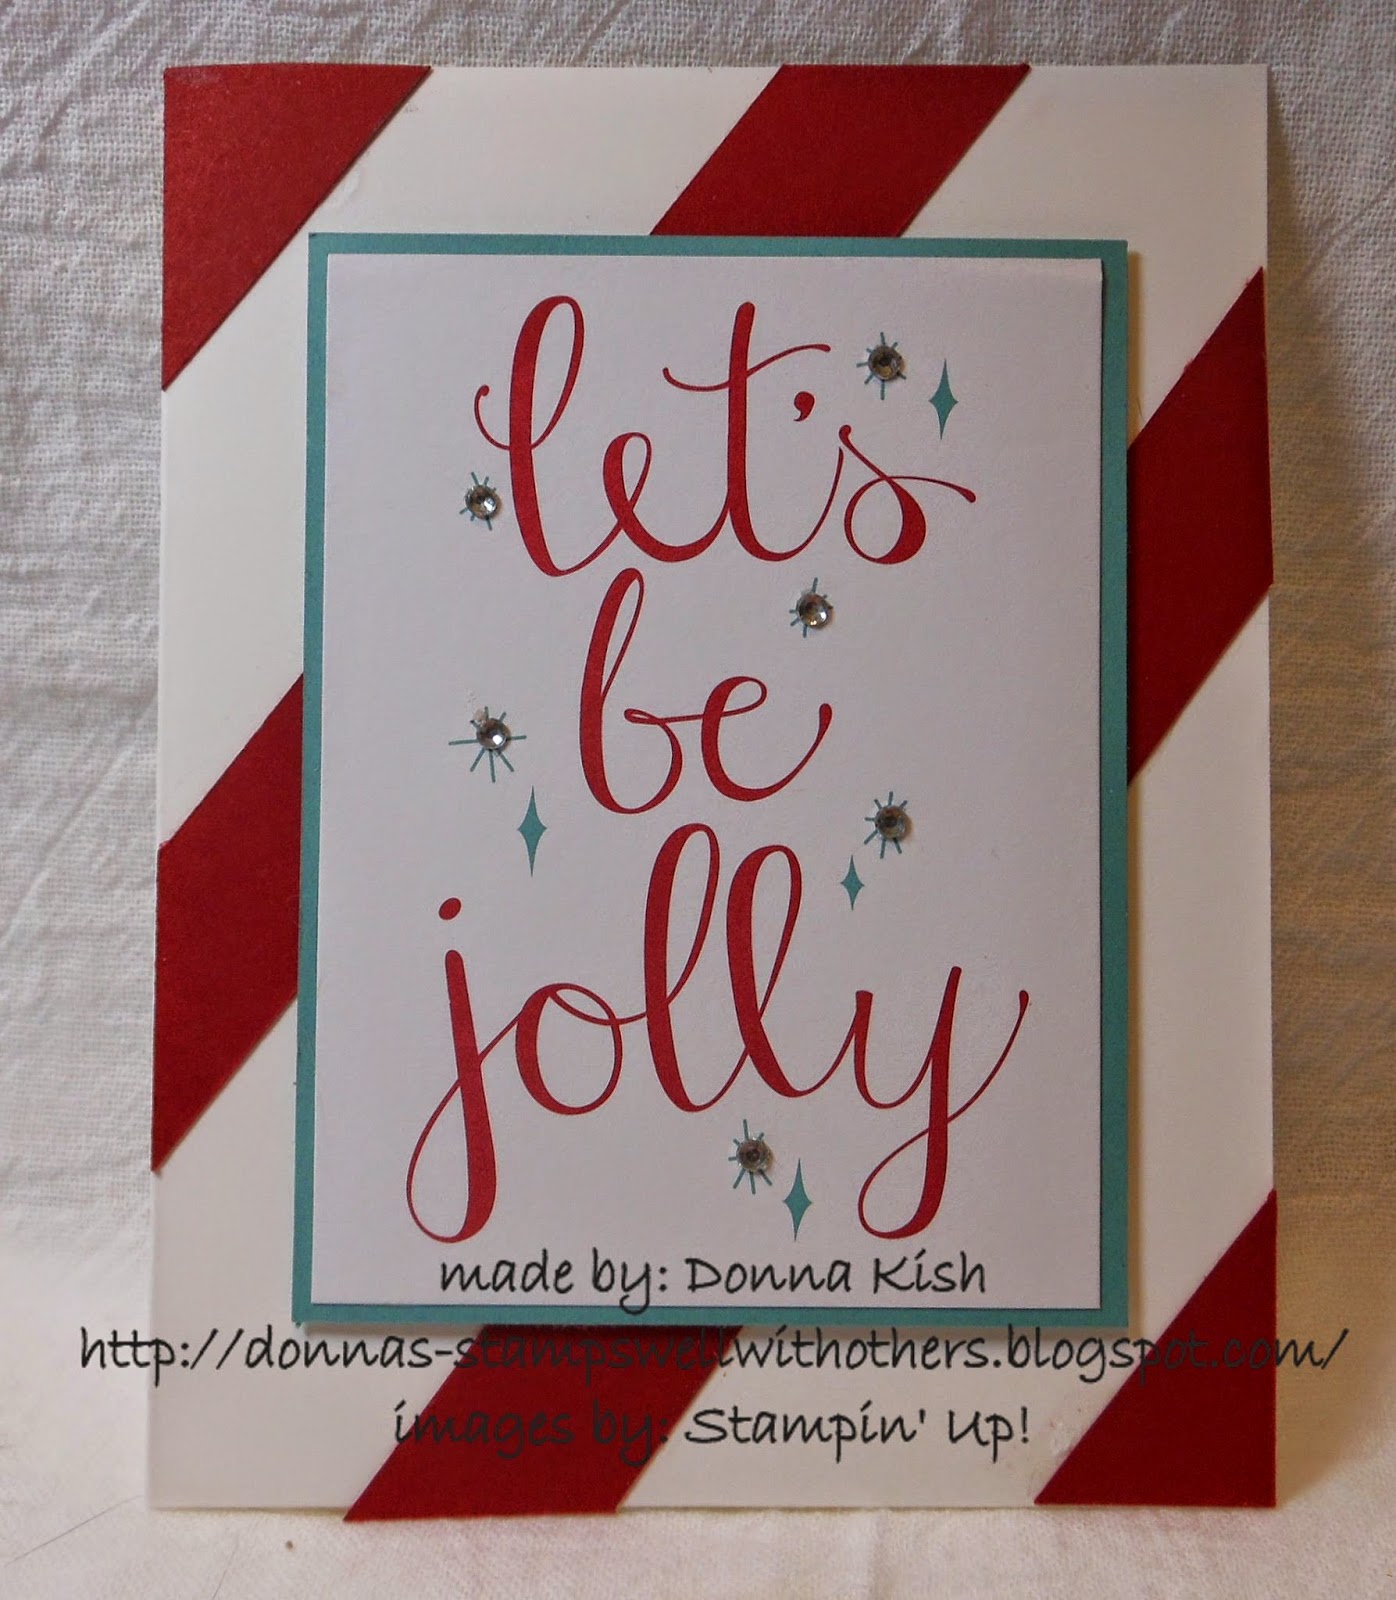
I did add some extra bling from our Frosted Sequins (135835).  I thought a little more sparkle would be nice, don't you?


Thank you for looking in today.  I hope you will think about purchasing this card kit from me.  I think it is one of the prettiest ones I've seen from our line of kits.
 
Have a great weekend!  Let Friday begin!
 
~ Donna

Contributors