The card was fun to make and will be even more fun watching your recipient open it for the first time! Let's start with the basic recipe and measurements.
Recipe:
Whisper White Card Stock - 8 1/2" x 5 1/2", scored and folded at 4 1/4"
Delightful Daisy Designer Series Paper 5 1/4" x 4 (inside) 4" x 2" (outside)
Basic Black - scrap for Detailed Dragonfly
Vellum - scrap for Outline Dragonfly
Stamps: Dragonfly Dreams
Ink: Garden Green
As you open the card, the dragonfly wings fold up and are pulled through the punched area.
Once completely open, the dragonfly is now inside. I bet you're thinking... where am I supposed to sign my card or write something to the recipient. Well, look at the top, there's all the open space you usually see on the bottom of the card. How cute is that, nice and unique!
To close, gently pull the wings together and put them through the punched area and you're ready to enjoy opening it again.
Once you have the wings on the outside again, gently fold them up to put a little crease in them at the body.
At our workshop we actually did this differently but we found that the wings were over a bit too far off the edge of the card, so today I decided to try this another way. The original instructions come from Rachel Tessman, thank you Rachel!
Here's how I re-did the punching and the wings worked great this time.
Before you do any punching, be sure to adhere the 5 1/4" x 4" piece of Designer Series Paper (DSP) to the bottom of the card - the area where you would usually write.
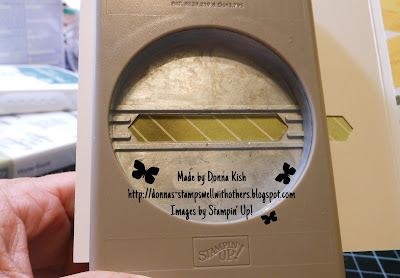
Begin by placing the Classic Label punch all the way in to the edge of the card about 1/2" down from the top and then punch. Move the punch down about another 1/2" and punch again, being sure to keep the punch straight so it lines up with the first one.

On the front of the card, place your 2" x 4" piece of paper centered over the punched area. The left edge should be about 5/8" of an inch in from the edge of the card.

Flip the card open and slide the punch in all the way (if you did it right on the outside, it should work the same inside.). Gently make the two punches again and you're all set. This also make punching two separate times easier than punching through the cardstock and the DSP at the same time.

Using our mini glue dots, place three on the back of the dragonfly as shown. A little tip we learned at the workshop was this - when you put the head of the dragonfly onto the glue dot - press gently and twist it back and forth a bit. We found that if you pull up the basic black without doing that, sometimes the cardstock would tear and leave a layer of paper behind on the roll of dots.
Line up the vellum outline of the dragonfly with the detailed dragonfly and then press it onto the glue dots.
Add three more glue dots to the vellum and then...
... place the dragonfly onto the card through the punched area. Make sure you've punched a long enough area for its tail.
Ta Da! Isn't that easy? Admit it, you thought it would be hard, but it was very easy!
Thank you for looking in today. Happy Monday!
~ Donna
Product List


