Tuesday, October 7, 2014

Weekly Deals - October 7th through 13th - 2014

Weekly Deals - October 7th - 13th, 2014


We hope you enjoy this week's Weekly Deals!
133158G


Geometrical Wood Stamp Set Item # 133158
Regular Price: $29.95 US/$36.95 CAN
Discounted Price: $22.46 US/$27.71 CAN


Mosaic Punch Item # 131267
Regular Price: $15.95 US/$21.95 CAN
Discounted Price: $11.96 US/$16.46 CAN


1/8" Circle Handheld Punch Item # 134365
Regular Price: $8.95 US/$11.95 CAN
Discounted Price: $6.71 US/$8.96 CAN


This And That Epic Day Journal Item # 131268
Regular Price: $10.95 US/$13.95 CAN
Discounted Price: $8.21 US/$10.46 CAN


Apothecary Accents Framelits Die Item # 127003
Regular Price: $24.95 US/$31.95 CAN
Discounted Price: $18.71 US/$23.96 CAN


Silver Glimmer Paper Item # 135314
Regular Price: $4.95 US/$5.95 CAN
Discounted Price: $3.71 US/$4.46 CAN


Natural 5/8" Chevron Ribbon Item # 132982
Regular Price: $6.95 US/$8.95 CAN
Discounted Price: $5.21 US/$6.71 CAN


Monster Munchies Ensemble - Digital Download Item # 131314
Regular Price: $12.95 US/$13.95 CAN
Discounted Price: $7.77 US/$8.37 CAN

Takeout Snowman to Go

Here is another adorable project we did at Lorri's Holiday Extravaganza.  I just LOVE this box.  So easy to put together, strong and sturdy and bigger than you think to hold a lot of goodies!

You can simply fold on the score lines and put it together, but I recommend gluing with our Tombo glue or with our red Sticky Strip inside on the corner flaps for a solid box that will stay strong.  These are in the Holiday Catalog - Takeout Boxes (135827).

Wrap our beautiful Cherry Cobbler 1" Sheer Linen Ribbon (135839) around the box and tie a beautiful bow.  This ribbon is so pretty and is so easy to work with. 

The snowman is made with those great little battery operated tea lights and decorated with Whisper White, Cherry Cobbler, Garden Green and Black cardstock.  If you'd like more details on the snowman, just drop me a line or leave a comment and I'll take some detailed pictures on making this cute little guy.

Here he is all lit up.  He's really cute in a dark room, looks kind of eerie here.  LOL


You could decorate the box with some snowflakes or Merry Christmas greetings.  For our box on Saturday, we kept it plain, but that was perfect since the snowman was the star of the show!


Thank you for looking in today.  Have a wonderful Tuesday!
 
~ Donna

Monday, October 6, 2014

Lorri's Holiday Extravaganza 2014!

On Saturday, over sixty ladies gathered to enjoy a day of crafting with Lorri Heiling (my amazing Upline!).  We had so much fun going to 12 different tables (hey, that's like the 12 days of Christmas!) making some really great cards and gifts.

Today I'm sharing two of them and will be sharing more over the upcoming days.  I was only going to share one, but I can't decide on a favorite!  I loved ALL of them!

Lorri cut the letters out using her Silhouette, especially since she had 60 plus sets to make!  You could certainly use our Little Letters dies (133730) and do the same thing on a smaller scale than 60!

We tore a piece of Whisper White card stock to make the edge look like a snowy landscape then sponged the torn edge with Soft Sky Ink.  We also sponged the tops of the letters.  The snowman is made with the 1" Circle Punch (119868) and 3/4" Circle Punch (119873), his eyes are punched with the tiny dots from the Owl Punch (118074)and a hand cut "carrot" for his nose. 

Brittney from my stamping group added the hat to her snowman so I just had to CASE that idea and put one on mine.  It really does make the card even more adorable!  Thank you Brittney for the great idea!!

The top of the card is from All is Calm Specialty Designer Series Paper (135823) and the added snowflakes are from Frosted Sequins (135835).  His neckwear and hat brim are decorated with Cherry Cobbler Bakers Twine (123125).


The 2nd Snowman Card was made from a template that Lorri had ready for us to trace and trim.  Yes ladies, time to fussy cut, but it was an easy fussy cut!

The eyes are from the Cupcake Builder Punch (121807) and his Soft Sky buttons are from the Owl Builder Punch (118074).

Take a tip from me... attach the face pieces first.  The card on the right was the first one I made and I started with the buttons.  Bad plan, they were too high!  Always good to learn from someone else's mistake, right?
 
 
The DSP is also from All is Calm Specialty paper (135823) and is just perfect for snow, don't you think?  The ribbons is 5/8" Organza Ribbon (114319).  So pretty!
 
Thank you again to Lorri and her amazing talents of putting this all together.  One of these days maybe I'll take on the challenge!  That would be great fun, on a much smaller scale, of course!
 
Thank you for looking in today.  Come back tomorrow for more of our fun creations.
 
Happy Monday!
 
~ Donna

Sunday, October 5, 2014

Guest Stamper - Linda - Yee Haw!

At the office a week ago, we had a birthday with a Cowboy Theme and what better stamps to use for this set than our Yee Haw Photopolymer Stamp Set.  It was a perfect set for just such an occasion, don't you think?

Linda is my guest stamper today so I can show off her amazing card.  I think it came out simply adorable!


Thank you Linda for letting me share your card! 

Have a Blessed Sunday!

~ Donna


Saturday, October 4, 2014

Curvy Keepsake Santa

I planned on posting this one yesterday, but after making that cute Stampin Campin trailer the other day, I had to post it first! 

My Santa was intended to be first so I could show you how to get the most out of your cardstock when  using this die.

Start with a piece of card stock 8 1/2" x 6" (instead of your usual card size of 5 1/2".  See picture below for how to place your framelit (you'll need to cut twice).  Place your first one on the paper as close to the edges as possible and run it through your Big Shot.  Pop out your card stock and turn your framelit around to fit the other end.  Remembering that the edge of your framelit isn't exactly where the cut will be, so you can lap over just a hair or two.


Glue the two pieces together as shown.  I recommend using either our Tombo glue (see the bottle in the picture) or using two sided tape.  You don't want this beauty coming apart during the off season!
 

Using your bone folder, gently pull it over the pieces to give them a little curl.  Remember the curling ribbon we all used growing up to make pretty packages, it's the same concept.  Easy Peasy! 
 
 
Here are the pieces you will need to complete your Santa.
 
 
To make placement easy, draw a pencil line for where you want your belt to be.  I also drew in dots for the buttons, but I don't recommend it.  Place the belt and then you can place the buttons easily.


The belt will hang over a bit from the measurements I gave you above.  This way you can trim them off and no matter where you place the belt, you'll have plenty of belt so it fits.  Just use your paper snips and you'll be all set.

 
I stamped "believe" from hostess set "Good Greetings" - available only through the month of October, so contact me for details!  Then I used one of the tags from the Curvy Keepsake Box Die, added a little bling to dot the "i" and tied them on with some ribbon.


Thanks for looing in today.  As you read this, I'll probably be off crafting with my team and a lot of other crafty women with my upline Lorri Heiling.  If you are reading this before 7 a.m. Arizona time, then I'm probably still sleeping or traveling to Starbucks on the way to the Holiday Extravagana!

Remember  - today is World Card Making Day - make some cards and enjoy the day!  ALSO - be sure to check out the sale on my website during World Card Making Day - special prices until Monday - October 6th with our Stamp, Stock and Save Sale.

Happy Stamping!
~ Donna

Friday, October 3, 2014

Stampin Campin Curvy Keepsake

Get ready for Curvy Keepsake Boxes!  I've seen so many of these adorable ideas all over the place, so I wanted to start my collection with my very own creation, but I didn't know where to start.  Now that I've started, I'm excited to make more fun things!

Earlier today I was looking at email and I had one from Pinterest for things I might like and one of them is campers.  I love the little trailers posted there and follow a group called Sisters on the Fly who make over old trailers for traveling.  As I was looking through the shape of some of them hit me right between the eyes and BOOM, I had my idea! 

 
Is this the cutest thing in the world or what?  If I were truly crazy, I'd open it up and put little furniture inside!  The thought did cross my mind!  Here was my inspiration.:


Here is the front of the trailer with a nice big window for looking out at the woods.  If I attempt to make this again, I'll score the front and back panels as well.
 
 
 The windows are Smoky Slate with a screen / or a curtain look for inside made from Vellum.


I made the "license plate" using Simply Serif Mini Alphabet (126360)


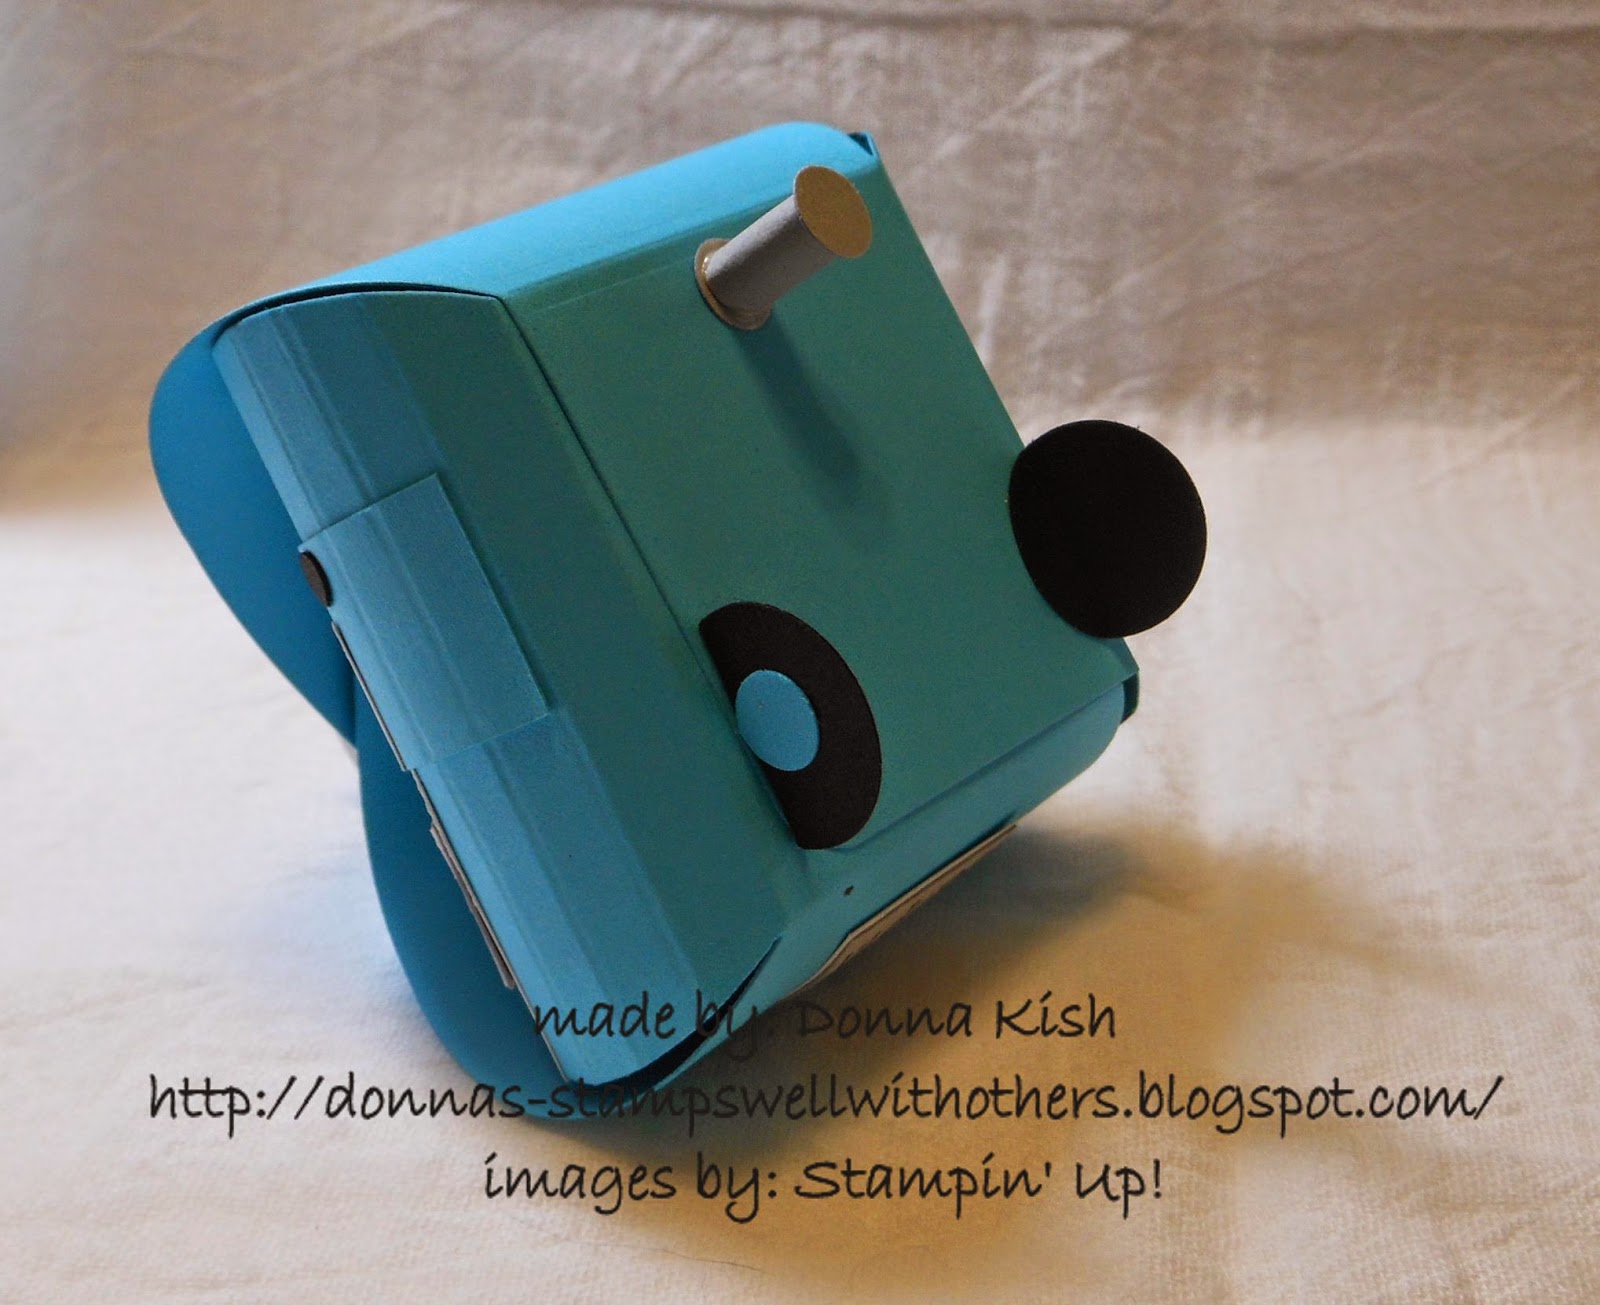
Here's the bottom so it will stand up.  I punched two "wheels" with the 3/4" punch (119873) and then two small "hubcaps" using the Owl Punch (118074).  The little peg that keeps the trailer from tipping over was made with a small piece of Smoky Slate about the same size as the wheels would be once attached.  I then punched 2 more circles from the owl punch for each end of the rolled up Smoky Slate.


I have to say, I was just simply GIDDY when I finished it.  It feels so awesome to create something without CASEing from others.  Seeing the trailer for inspiration isn't the same as a CASE.  LOL

Thank you for looking in today.  Have a wonderful Friday! 

Tomorrow I'm heading out with the girls to my upline's Holiday Extravaganza.  I'm so looking forward to crafting with the girls instead of doing the planning!  Wooo Hooo!

~ Donna

Thursday, October 2, 2014

Pet Sympathy

It is always so hard to say goodbye to a beloved pet.  On Tuesday a friend of ours had to take their sweet little pooch to the vet for a nosebleed that wouldn't go away.  Sadly when they checked it out, there was a large in-operable tumor. 

So out comes the sympathy card making stamps.  Paw prints made from punches can make any card a pet card, right?


Thank you for looking in today!  Tomorrow will be filled with happier cards, I promise!

Happy Thursday!

~ Donna

Contributors