Saturday, December 8, 2012

Twitterpated Birthday

Well we had a couple of birthdays in the office lately.  The most recent one was on Wednesday for my boss Karen.  Here's the card I made for her birthday.  It's a very simple card but has a lot of style and it's great for using up some of those scraps of paper we all have in our supplies!

I adhered strips of Twitterpated DSP onto a scrap of old copier paper then ran it through the Big Shot with the Vintage Wallpaper Embossing Folder and then through again with the Top Note Bigz Die.  Using snips, cut off the perforated edge so that it can be layered onto solid card stock.

It's hard to tell here, but the Whisper White card stock was embossed using the Stripes Embossing Folder before attaching the Top Note cut outs.  Full details on products used below.


Recipe:

Stamps:  Bring on the Cake (w-121899 / c-121958) - pg. 142
Ink:  Riding Hood Red (126968) - pg. 155
Card Stock: Whisper White (100730) - pg. 156 and Riding Hood Red (111348) - pg. 155
DSP:  Twitterpated (125406) - pg. 165
Ribbon:  3/8" Taffeta Ribbon - Riding Hood Red (122988) - pg. 173
Big Shot (113439) - pg. 186/187 and Accessories: Vintage Wallpaper Embossing Folder (120175) pg. 189 and Stripes Embossing Folder (123128) pg. 189
Extras:  Glue Dots (103683) pg. 177 - for attaching ribbon; Stampin' Dimensionals (104430) pg. 177 - for attaching "Happy Birthday"; Paper Snips (103579) pg. 180

A little added note here... if you don't have a pair of Stampin' Up! Paper Snips yet, why not??  I myself held off on getting them because I had another brand that looked just like them except in a pretty color.  Well, when I gave in, I wondered what had taken me so long!  These things cut through ribbon so smooth and crisp, you won't believe it!

Thanks for looking in.  Have a great Saturday!

~ Donna

Thursday, December 6, 2012

FREE INK!! Awesome!

Have you ever thought of becoming a Stampin' Up! Demonstrator?  If you've even thought of it a little bit, now is the perfect time to think about it again.

Between now and December 16th, you can receive a free collection (Brights, Subtles or Regals) of ink.  I just got mine when I re-joined and I'm so excited to have all three sets now and grateful I hadn't purchased all three before I could earn the last one.


Have questions?  See the FAQ's below that might answer some of your questions or please feel free to contact me.


FAQs about Being a Demonstrator

1.   What are the minimum sales requirements?
You only need to submit $300 in sales per quarter. That is less than an average Stampin’ Up!® workshop! 
Also, you can submit your sales in any increment you wish and still receive your 20 percent discount and 
commission.

2.   What if I want to do this as a hobby and not necessarily a business?
Stampin’ Up! supports all demonstrators, no matter their goals or the level at which they choose to run 
their business. If you choose not to hold workshops, you can simply place your own orders and/or 
collect orders from family and friends to equal the $300 quarterly sales minimum.

3.   Can I be my own hostess?
Yes, you can be your own hostess anytime you want. Invite your family and friends into your home and 
have a workshop. You will be the hostess, receiving the hostess benefits, as well as the demonstrator, 
receiving your instant income and commission.

4.   How much does it cost to get started as a demonstrator?
The Starter Kit is only $99, and is fully customizable. You choose up to $125 worth of any current 
Stampin’ Up! products, and you will also receive a business supplies pack containing materials you need 
to run your business (valued at $65).

5.   How can I make money as a demonstrator?
You can earn money in three ways: instant income (20 percent of each order), monthly volume rebates 
(5–20 percent of total sales), and monthly downline override commissions (2–6.5 percent of your 
recruits’ sales).

6.   Do I have to recruit other demonstrators?
No. If you were to recruit demonstrators, you would be paid override commissions on your downline’s 
sales, but this is a perk, not a requirement.

7.   Where will I get project ideas for my workshops? What kind of training can I expect?
Stampin’ Up! provides dozens of training resources filled with project ideas and tips to help you run 
every aspect of your business, including a monthly publication called Stampin’ Success, Demonstrator 
Support agents, a demonstrator-only website, hundreds of samples, annual and seasonal catalogs, a 
training DVD, the Demonstrator Manual, and a Product Guide.

8.   Is Stampin’ Up! a well-known, respected company?
Since 1988, Stampin’ Up! has been selling rubber stamps and paper-crafting supplies. In that time, not
only have we won industry awards and accolades, but also the loyalty and admiration of demonstrators 
and customers alike. And that is a trend that we work hard to maintain. You can rest assured that the 
reputation of Stampin’ Up! will only continue to improve!

9.   What if I decide that I don’t like it once I’ve started? Will I be penalized if I quit?
You may choose to stop at anytime, and you will not be penalized. You simply stop placing orders. 
However, there are many benefits to remaining an active demonstrator.

If you have any questions about Stampin’ Up! or becoming a Stampin’ Up! demonstrator, please contact me:  Donna Kish

Wednesday, December 5, 2012

Watercolor Winter Revisited

Ok, so it was just yesterday that I posted Watercolor Winter, but in assembling my cards I found that I ran out of Cherry Cobbler card stock, so I put some of them on Gumball Green (great idea Brittney, thanks!).  I really like how it makes the Gumball Green pine jump out even more!


I also discovered that Dazzling Diamonds don't stay on with just VersaMark.  I should have known that ... so next batch of these I make will be using the Heat and Stick Powder (100625).

~ Donna

Tuesday, December 4, 2012

Ornament Elegance Kit - While Supplies Last


Get the Ornamental Elegance Kit--While Supplies Last!

December 3, 2012
 
The ornament on the cover of our holiday catalog is such a hit that we are making it available to you --just in time to deck the halls with terrific trimmings you've made yourself!

We've simplified this fun project so that you can quickly and easily achieve the same results. In addition to the kit, all you need is a glue gun, scissors, and adhesive. (Our Anywhere Glue Sticks [104045] are perfect for assembly.) Want greeting or place cards to go with those ornaments? The Ornament Keepsakes Stamp Set (W 128048 C 128051) gives you perfect coordination. Fancy a little sparkle and shine? Sprinkle on our Dazzling Diamonds Stampin' Glitter (102023)!

Contact me today to take advantage of this amazing offer--just in time to create 10 heirloom ornaments--or stunning tags to attach to a special neighbor gift.

The Ornamental Elegance Kit (132832) is $14.95 and includes:
  • Die-Cut Cardstock Elements
  • Cherry Cobbler 3-1/2" Scalloped Tulle Ribbon
  • Natural Linen Thread
  • Vintage Faceted Designer Buttons
  • Large Pearl Basic Jewels
Order these now so you will have plenty of time to make them for Christmas gifting--or for your family tree! Available while supplies last.

Watercolor Winter Christmas Card

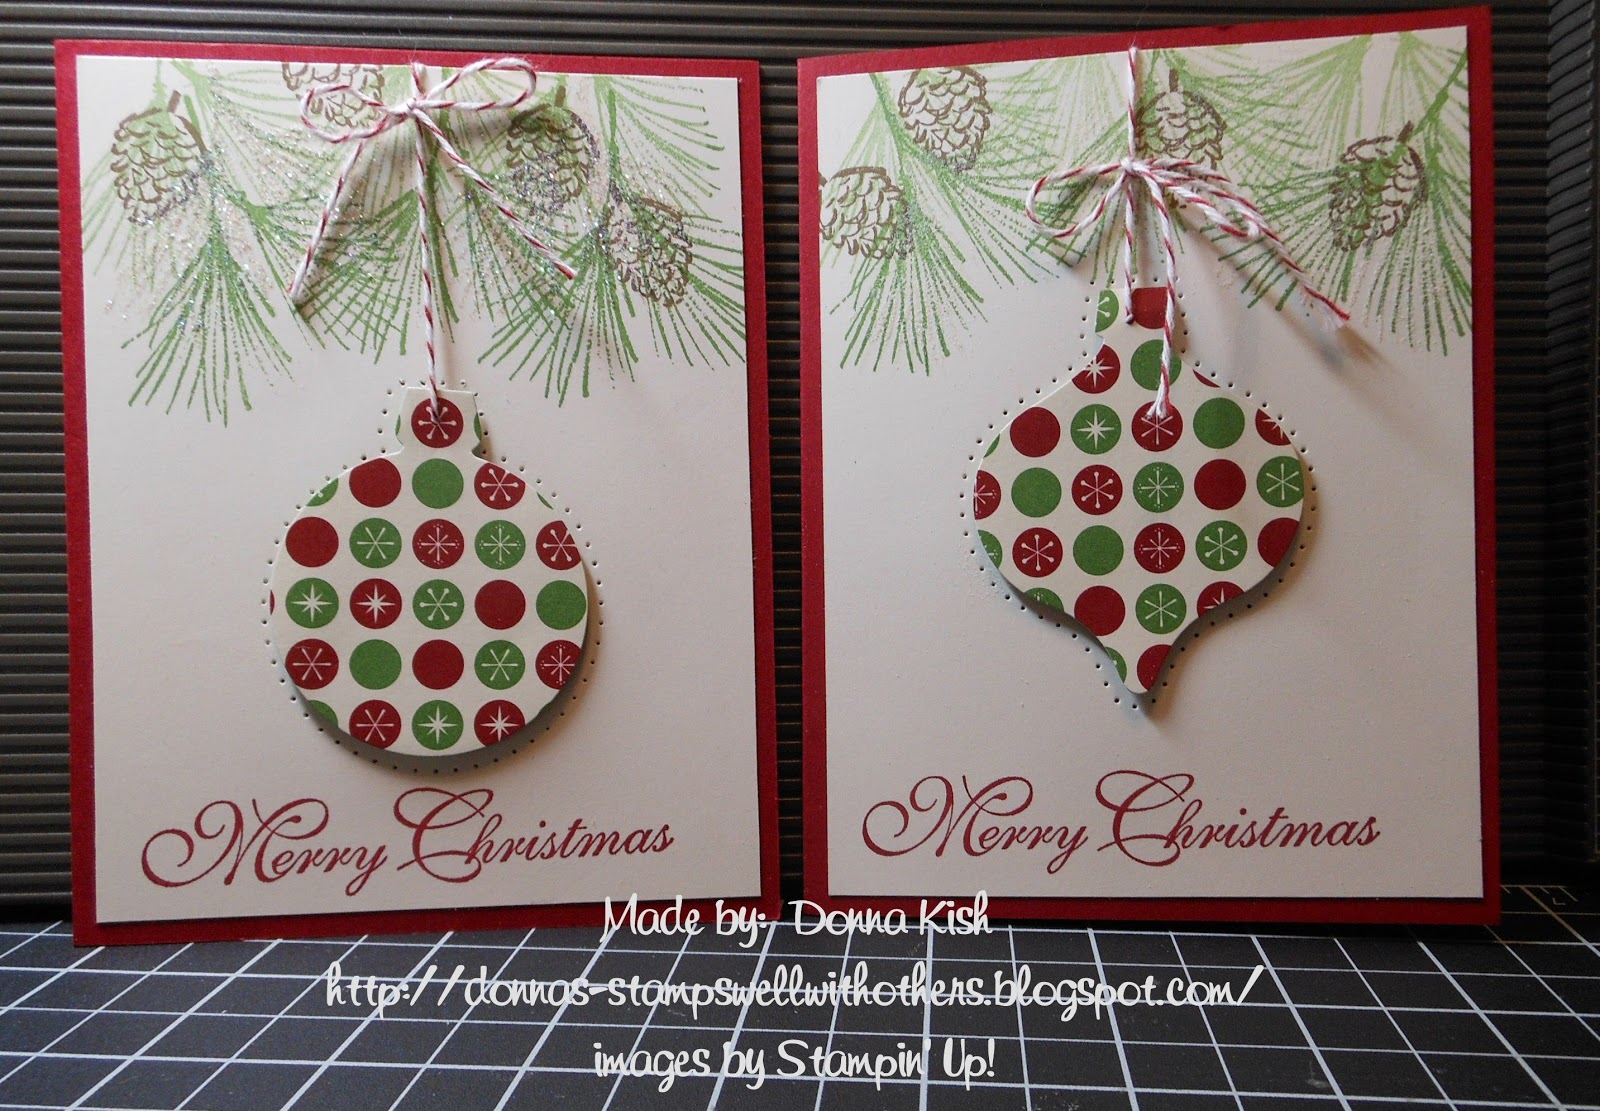
I found the idea for this card on Sarah Will's website.  I changed it up a bit by adding some pinecone's and changing the paper and sentiment.  This is going to be my Christmas Card this year for my family and friends (outside of stamping friends that is!).  It's easy to produce several at a time and they're quick to do, even with the paper piercing.


In stamping the pine needles, I stamped first with Gumball Green and then stamped again without re-inking which gives it a softer look.  The finishing touch is stamping again (after cleaning the stamp of course) with VersaMark and adding some Dazzling Diamonds.

Recipe:

Card Stock:  Cherry Cobbler and Very Vanilla
DSP:  Be of Good Cheer (126896)
Stamps:  Watercolor Winter (w-129724 / c-129727), Greetings of the Season (w-128030 / c-128033) - both available until the end of December in the Holiday Mini.
Ink:  Cherry Cobbler, Gumball Green and Soft Suede
Extra's:  Holiday Ornaments Framelits (127816), Festive Paper-Piercing Pack (127857), Paper-Piercing Tool (126189), Cherry Cobbler Baker's Twine (123125), Dazzling Diamonds (102023), VersaMark (102283).

Hope you had a great weekend.  Here comes another Monday!

Happy Stamping!

~ Donna

Monday, December 3, 2012

Guest Stamper - Brittney - Merry Christmas

Brittney came over Saturday for a Christmas Card making day.  It's been so long since we've been able to devote so much time to making cards and it felt wonderful!  Here is her very own design - I think it came out  wonderful!


Recipe:
Stamp Set:  More Merry Messages (w-126400 / c-126402)
Cardstock: Cherry Cobbler, Very Vanilla, Gumball Green
DSP:  Be of Good Cheer (126896)
Specialty Paper:  Silver Glimmer (124005)
Ink:  Cherry Cobbler, Gumball Green (inside sentiment)
Punches:  Merry Mini's Punch Pack (126882), Itty Bitty Shapes Punch Pack (118309)  
Extras:  Holiday Collection Framelits Dies (127814), Cherry Cobbler Bakers Twine (123125), Cherry Cobbler 1/2" Seam Binding (120992)


Thanks for looking in!

p.s.  Signed up this weekend with Stampin' Up, but have to call them first thing this morning to finalize everything.  I'm so excited!  Thank goodness SU is on the same time zone with Arizona, so I don't have to play that game!  haha!

~ Donna

Sunday, December 2, 2012

Organizational Idea

If you're like me, you have to have things out where you can see them to use them.  If I stash things away I forget about them and they just don't get used.  One of my favorite new tools to use are the Piercing Pack Templates.  Now, I know they aren't NEW new, we had the smaller one before, but these newest ones are so much fun and go with so many of our stamps and framelits.

So I thought of a way to keep them out of the package and into view where they will have easy access and be used more often.  As a matter of fact, I'm making my Christmas Cards with them.  (See tomorrow's post - hint, hint.)

I used my Crop-a-dile and punched a 3/16" hole in the corner and put them all onto a key ring (the kind that snaps open) for easy removal.  The ring hangs nicely on my cabinet door next to my table.  I also used a Sharpie to mark the name of the set each one came from including the item number for easy ordering.


What do you do with your Paper Piercing Templates?  I'd love to hear how you store and use yours.

Happy Stamping!

Donna

Contributors