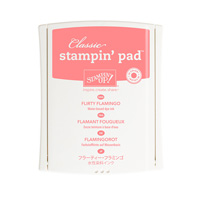
Flirty Flamingo - 8 1/2" x 5 1/2", scored and folded at 4 1/4"
Watercolor Paper 5 1/4" x 4" and 3 7/8" x 2 5/8"
Basic Black Mat - 4" x 2 3/4"
Attach the smaller piece of watercolor to the center of the larger piece of watercolor paper. Do NOT put the Black piece on yet.
Stamp your image with Black StazOn so that it covers both pieces of watercolor paper. Be sure the ink pad is nice and inky and press the stamp down firmly (no rocking!) and hold it there for a while to allow the ink to transfer to the paper. Remove the smaller piece from the larger one.
Using your Aqua Brush, color only the parts on the smaller paper.
Assemble together as shown. If you have a little bit of missing lines, just use a black marker to fill them in. It will be perfect!
For full directions click HERE for the PDF from Sandi. She also has a fabulous video on how she colors her flower. It is so easy to do with beautiful results. Sandi's You Tube Video.
Thank you for looking in today! ~ Donna
Product List


Dramatic! Oh this is wonderful! I had never tried the spotlight technique until a couple of weeks ago. Mine was simpler the three panels on a tilt though for fun. But, this is even cooler with the inside panel colored and not the outside for the flower. I think that flower set is perfect for this. I love this look! The new colors look great on here. I gotta go check out the video before my dryer buzzer goes off.
ReplyDeleteChris R. from Iowa
Just wait until you try it, you'll want to do more and more! I want to be coloring right now instead of working! Sandi's is so beautiful, I love her coloring. Mine came out pretty good for a first attempt, but I want to do more!
DeleteThank you Chris! Have a great day!